How to Write Data Wrangling Result Back to Amazon Redshift via Amazon S3 in R and Exploratory
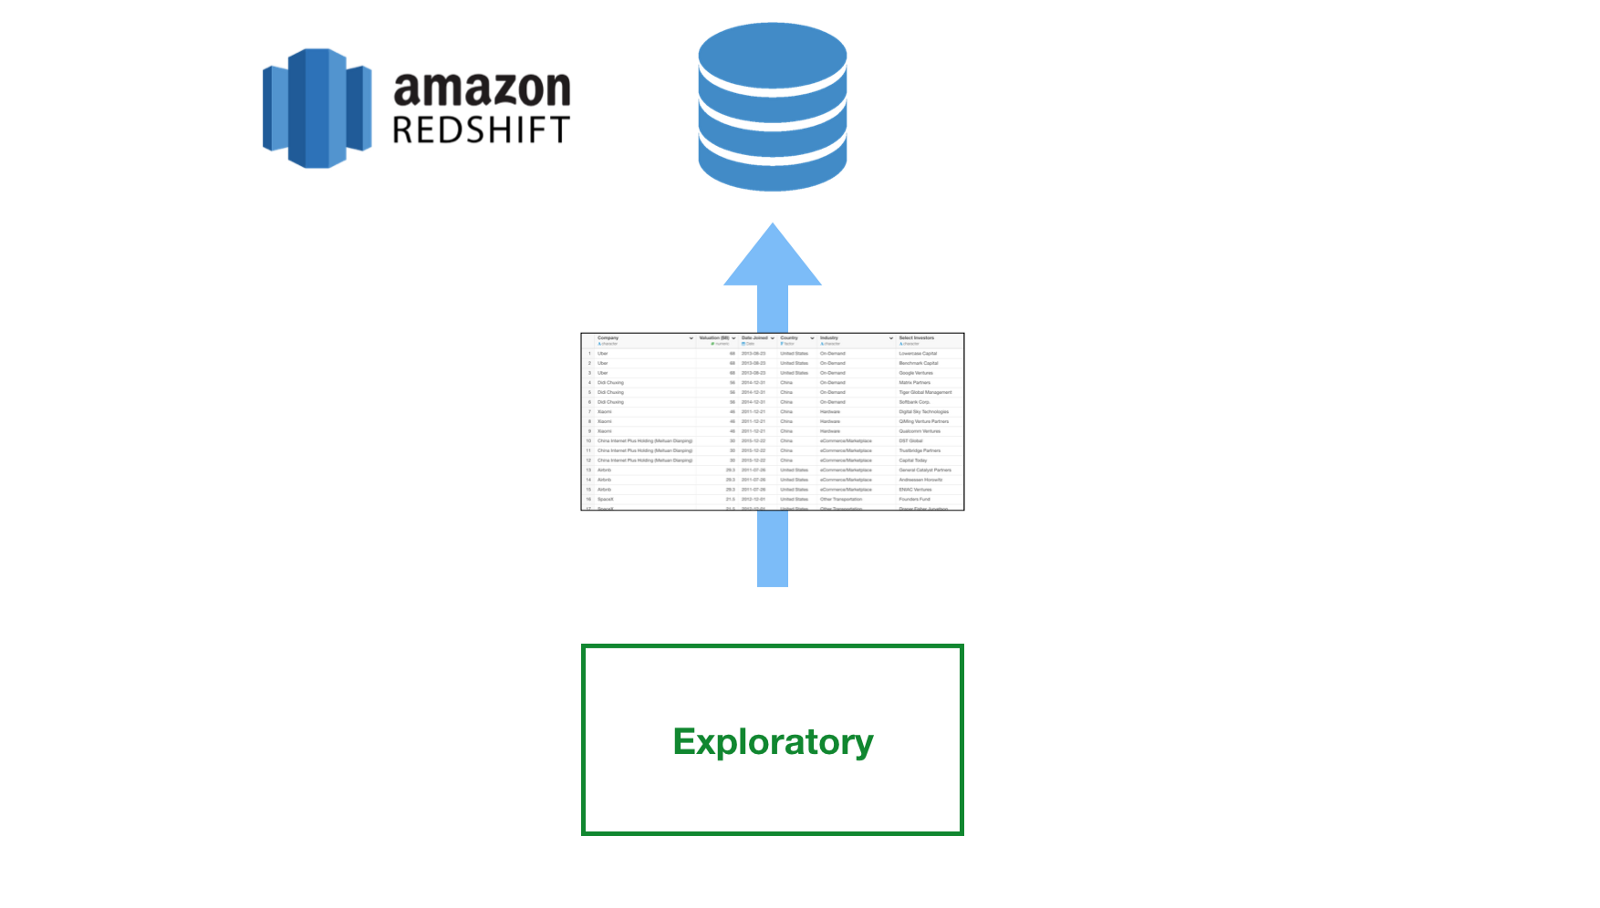
Sometimes you want to write your data wrangling or even data analysis result back to your databases like Amazon Redshift. And this is relatively simple to do in R and in Exploratory.
I’m going to demonstrate this by using R custom script feature in Exploratory following the three steps below.
Install redshiftTools
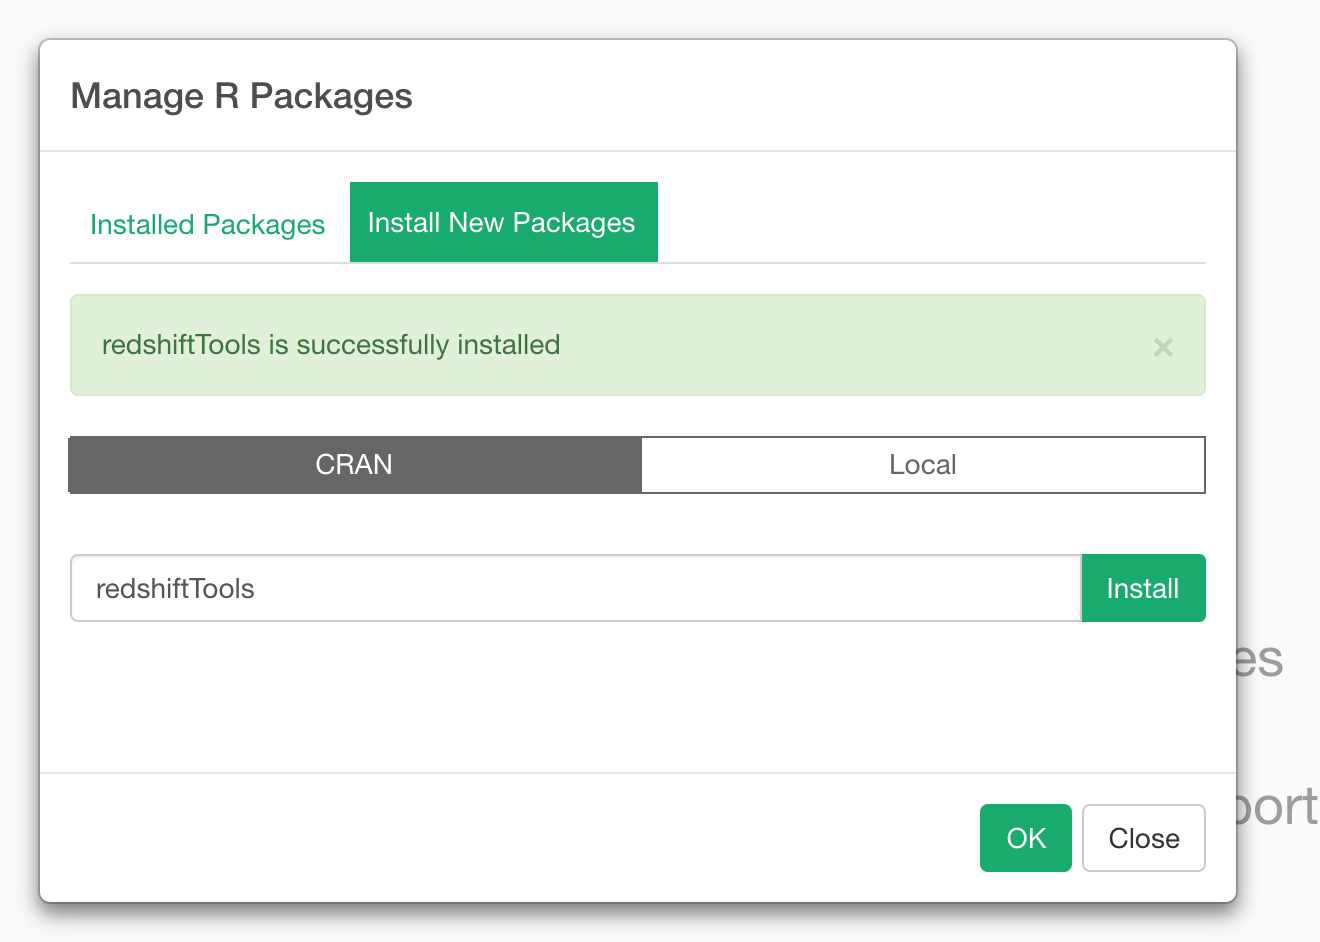
First, let install the R pacakge called redshiftTools. With this R pacakge, you can upload a data wrangling result to Amazon S3 then copy the data to Amazon Redshift.
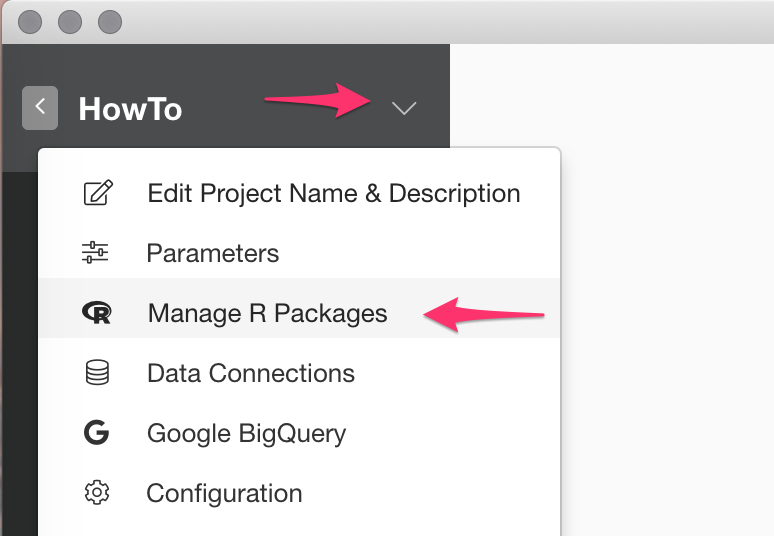
To install the R Package, click Down Arrow Icon next to Project Name like below and select Manage R Packages menu.
Then type in redshiftTools in the input field and click Install button.

Once it’s installed you’ll see below success message.
Create a Custom R Function
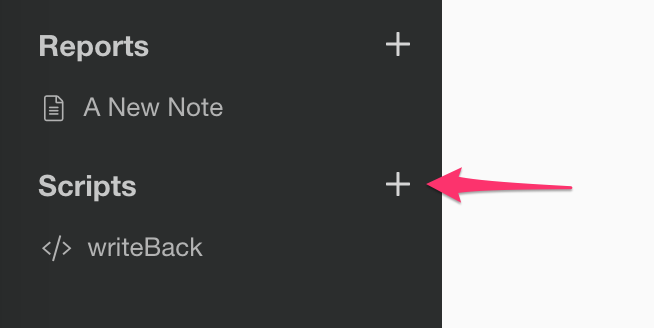
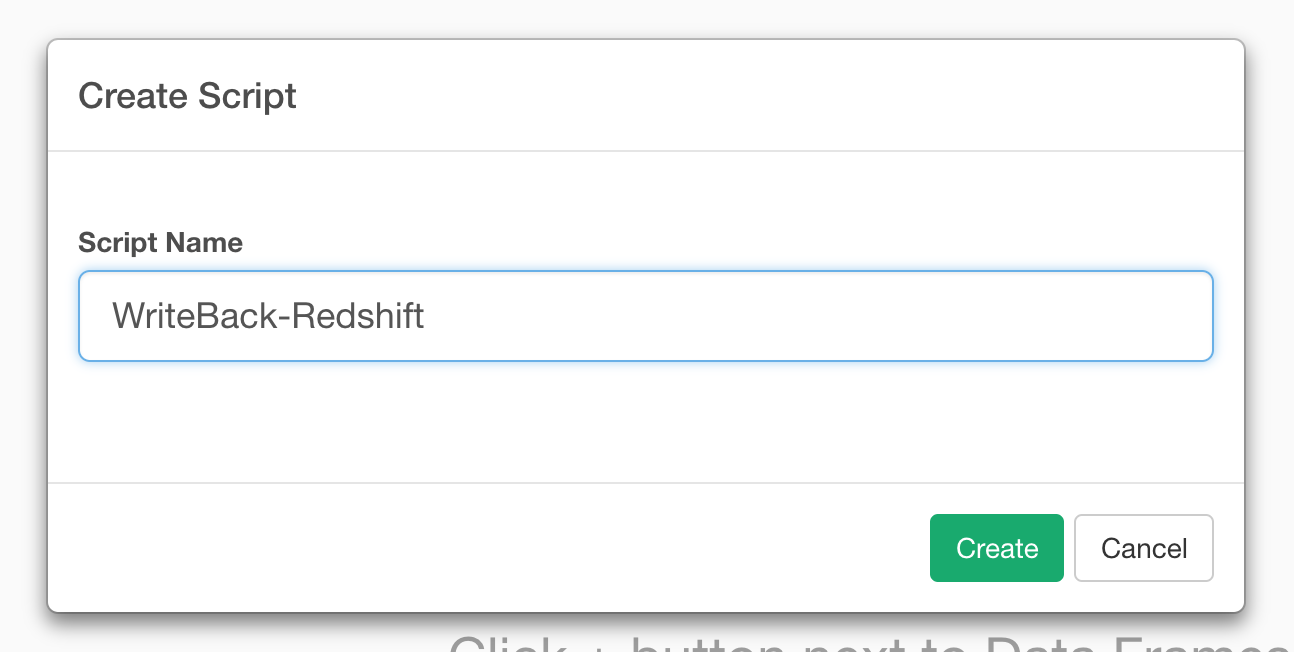
Cick plus button next to Script at the left hand side pane to open the R Script editor.
And enter name in the Create Script Dialog.
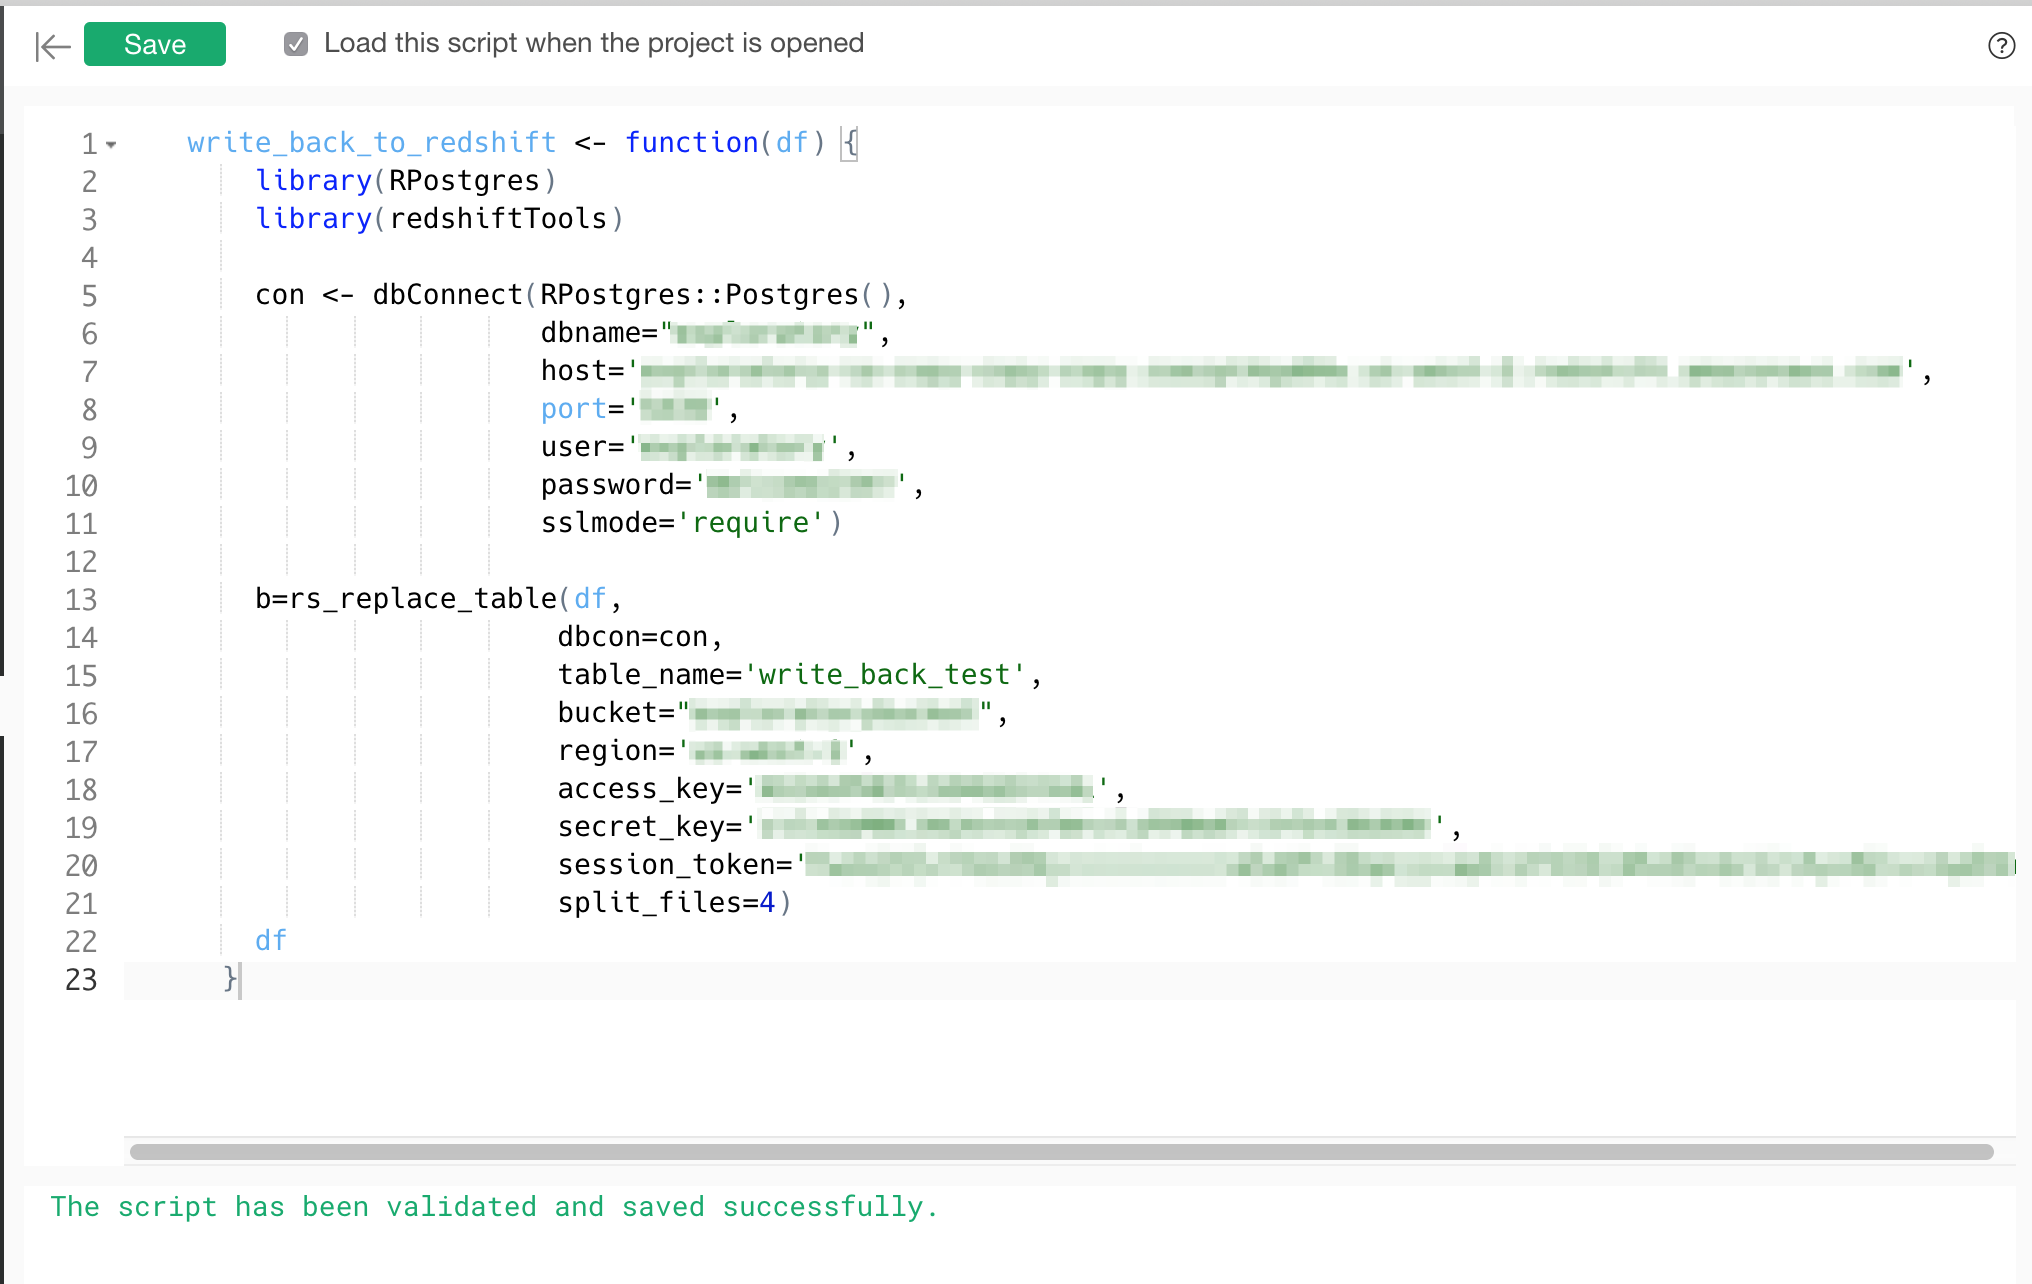
Then type in the below script. Make sure to replace host, port, dbname, user, password to point to your database to get connection wth dbConnect. And then, call rs_replace_table function that uploads the data frame data to S3 then copy the data to Amazon Redshift.
write_back_to_redshift <- function(df) {
      library(RPostgres)
      library(redshiftTools)

      con <- dbConnect(RPostgres::Postgres(),
                       dbname="exploratory",
                       host='xxxxxxxxxxxxxxxxx.amazonaws.com',
                       port='xxxx',
                       user='xxxx',
                       password='xxxxxxxxx',
                       sslmode='require')

      b=rs_replace_table(df,
                        dbcon=con,
                        table_name='write_back_test',
                        bucket="xxxxxxxxxxxx",
                        region='xxxxxxxx',
                        access_key='xxxxxxxxxxxxxxx',
                        secret_key='xxxxxxxxxxxxxxx',
                        split_files=4)
      df
    }
rs_replace_table’s arguments
bucket
This is a bucket the name of the S3 temporary bucket to load the data. Will look for AWS_BUCKET_NAME on environment if not specified.
region
This is a region of the S3 bucket. Will look for AWS_DEFAULT_REGION on environment if not specified.
access_key
This is an S3 access_key with permissions for the bucket. Will look for AWS_ACCESS_KEY_ID on environment if not specified.
secret_key
This is a secret key with permissions fot the bucket. Will look for AWS_SECRET_ACCESS_KEY on environment if not specified.
To get Access Key and Secret Key, Go to AWS Console
Call the Custom Function As a Custom Command
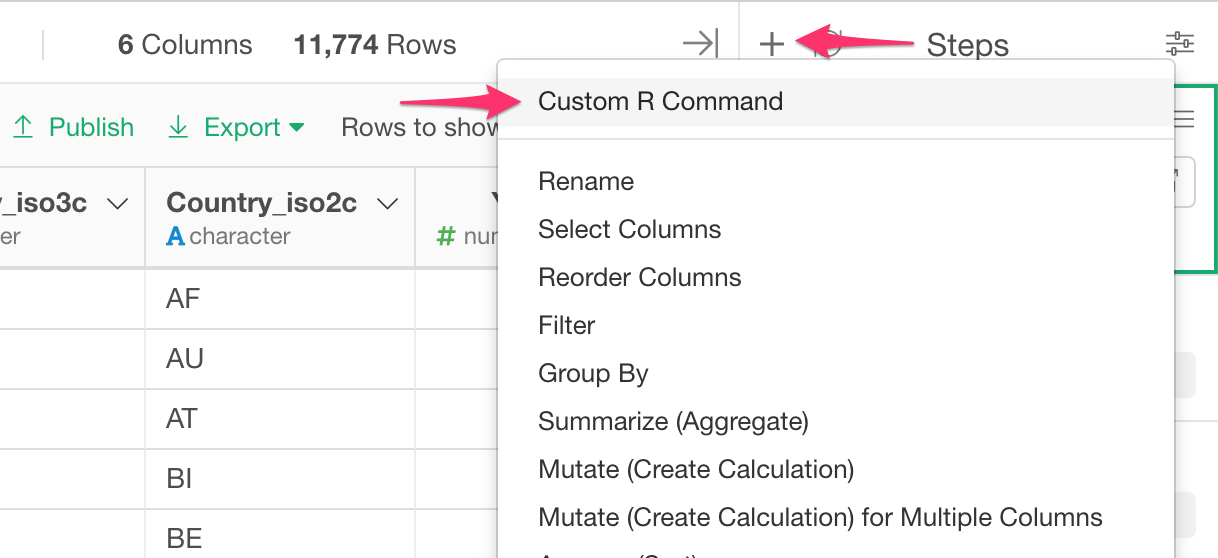
Now it’s time to call the R function we have just created above. To call, you want to get into a Command Input mode by selecting ‘Custom Command’ from the Plus menu like below.
Then type in write_back_to_redshift() in the input field.
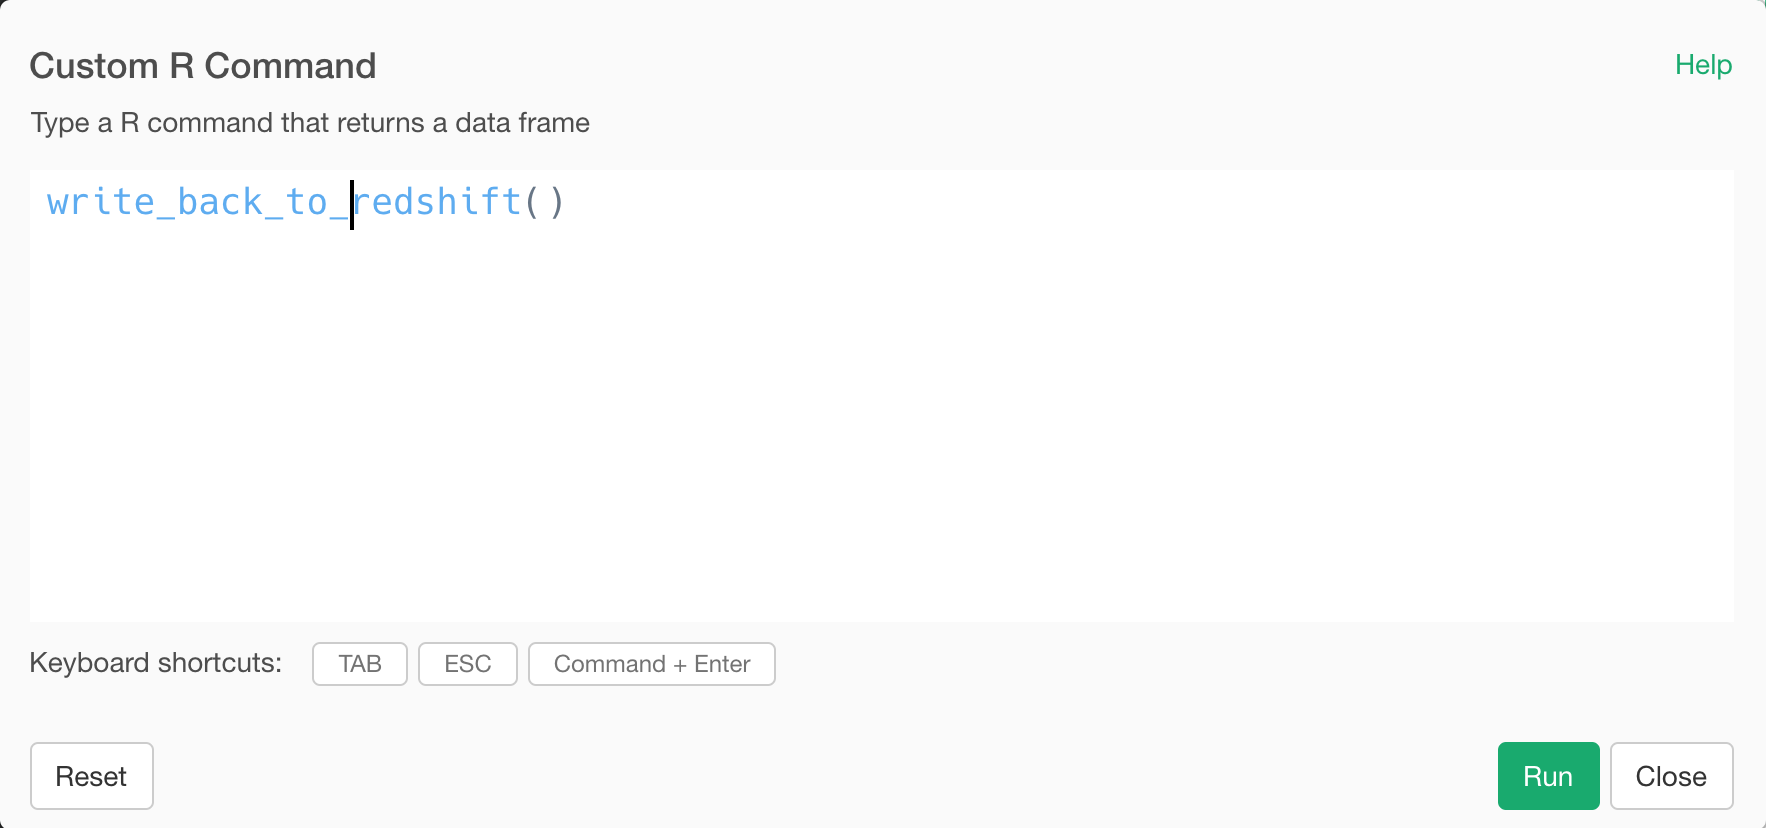
As mentioned above, this function takes a data frame data from the previous step and writes back to a specified database (Redshift DB in this case). Once that’s done, it will return the same data frame data.
Once you click green Run button, the data will be saved to your database.
How to stop Write Back
Now, probably you don’t want to write the data back to the database every time you open this data frame or update the data wrangling steps.
For this, you can temporary disable the ‘write back’ step.
Make sure you have selected the Write Back step at the right hand side data wrangling step.
Click the disable icon on the step.
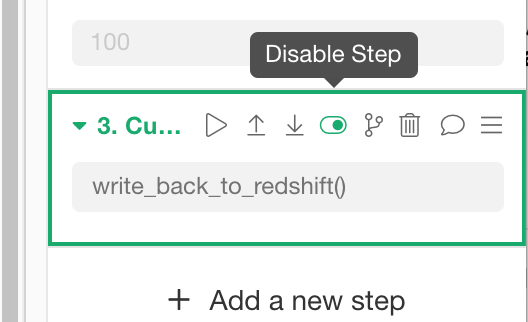
This will temporally disable this step so that this step will be ignored when it runs the data wrangling steps until you enable it back.
This is just an example of writing the data wrangling or analysis result back to Amazon Redshift database. But by using the R custom function feature you can do a lot more.
Try it for yourself!
If you don’t have Exploratory Desktop yet, you can sign up from here for free. If you are currently a student or teacher, then it’s free!
Learn Data Science without Programming
If you are interested in learning various powerful Data Science methods ranging from Machine Learning, Statistics, Data Visualization, and Data Wrangling without programming, go visit our Booster Training home pageand enroll today!