This note describes how to setup a connection to Oracle Database through ODBC with Oracle’s Instant Client on Mac.
Install unixODBC
Please follow the instruction to install unixODBC.
Install Oracle Instant Client Packages
Visit Oracle’s official website to download the Instant Client packages compatible with your macOS (Either ARM64 or Intel x86) architecture. Specifically, download the Basic, ODBC packages.
- Oracle Instant Client Downloads for macOS (ARM64)
- Oracle Instant Client Downloads for macOS (Intel x86)
Install the Instant Client Packages
Unzip the downloaded packages into a directory,
- e.g.,
~/instantclient_23_3
Configure ODBC Drivers
Run the provided script to update the odbcinst.ini
file:
cd ~/instantclient_23_3
./odbc_update_ini.sh /opt/homebrew
Verify that the odbcinst.ini file has been updated with
the Oracle ODBC driver information.
Create Symbolic Link to libodbcinst.2.dylib
You need to create a following symbolic link to that the Oracle ODBC driver works with unixODBC. It assumes the libodbcinst.2.dylib is located in /opt/homebrew/lib.
cd ~/instantclient_23_3
ln -s /opt/homebrew/lib/libodbcinst.2.dylib .
Set Environment Variables: Add the following lines
to your shell configuration file (e.g., ~/.zshrc or
~/.bash_profile)
export PATH=~/instantclient_23_3:$PATH
export ORACLE_HOME=~/instantclient_23_3
export DYLD_LIBRARY_PATH=~/instantclient_23_3
export TNS_ADMIN=~/instantclient_23_3/network/admin  # Optional, if using TNS names
Reload your shell configuration:
source ~/.zshrc # or source ~/.bash_profileCreate a Database Connection
From 3 bars menu, select the Data Connections.

Click the Add button
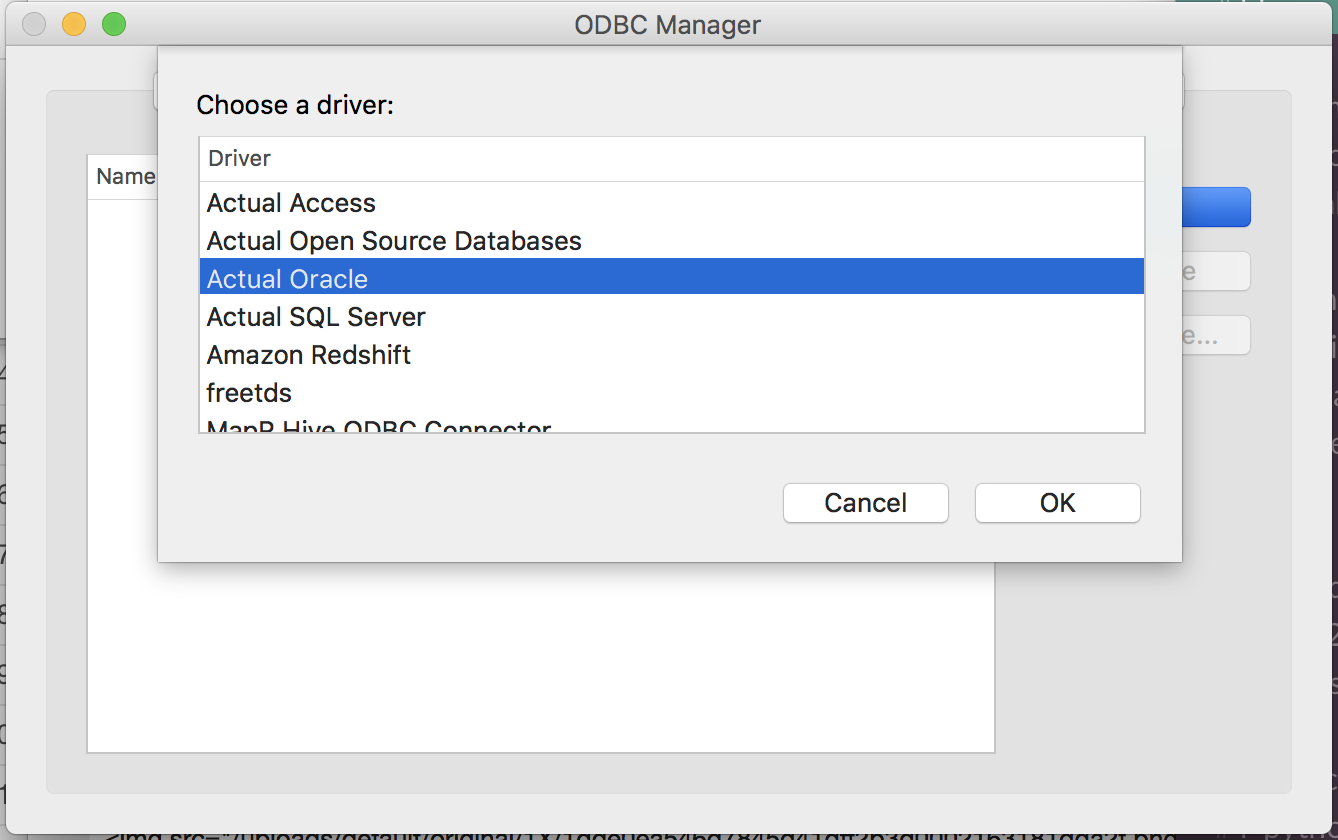
Select the Database tab and then click the “Oracle” icon.
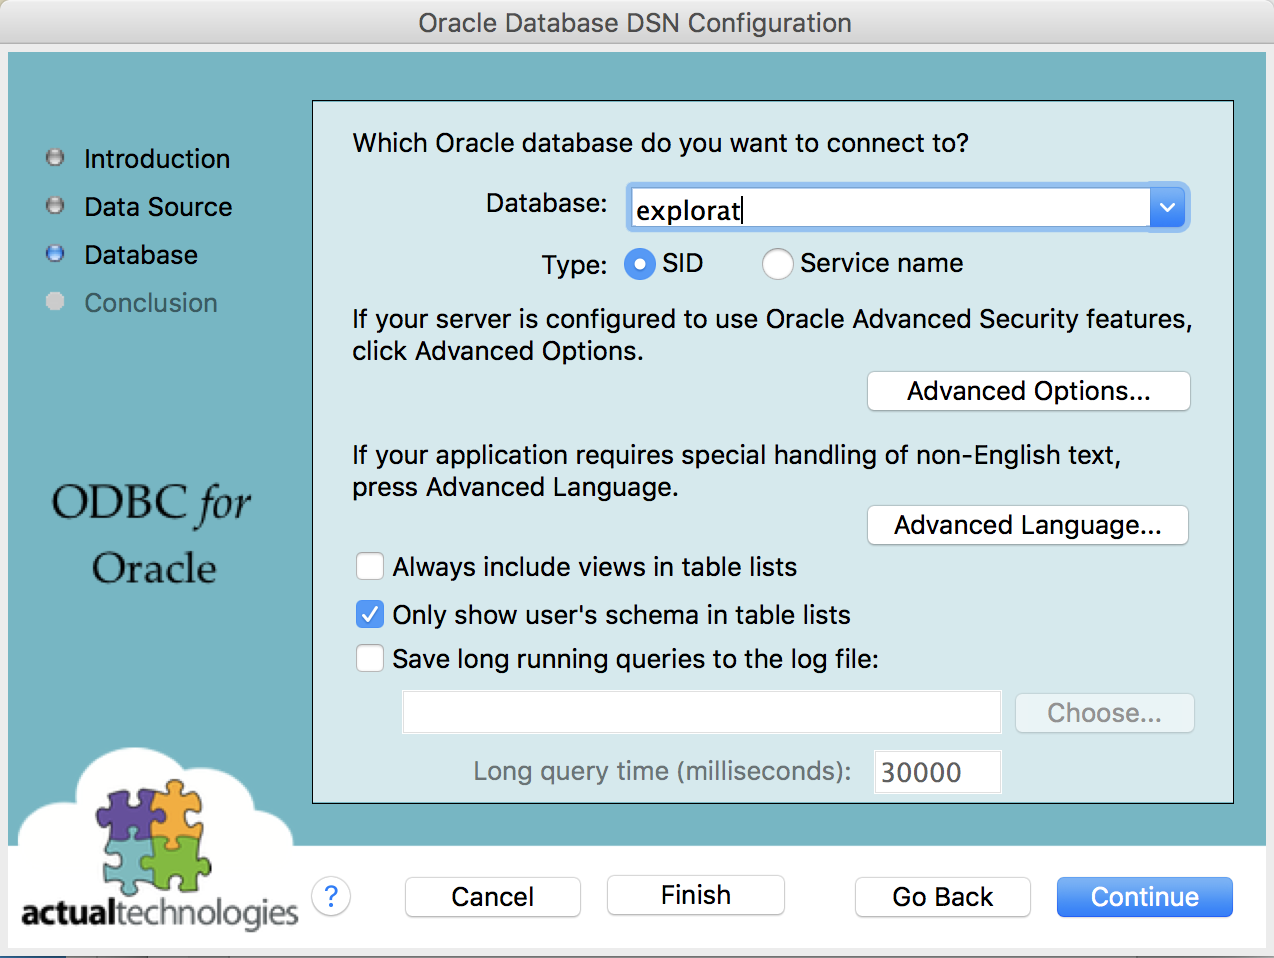
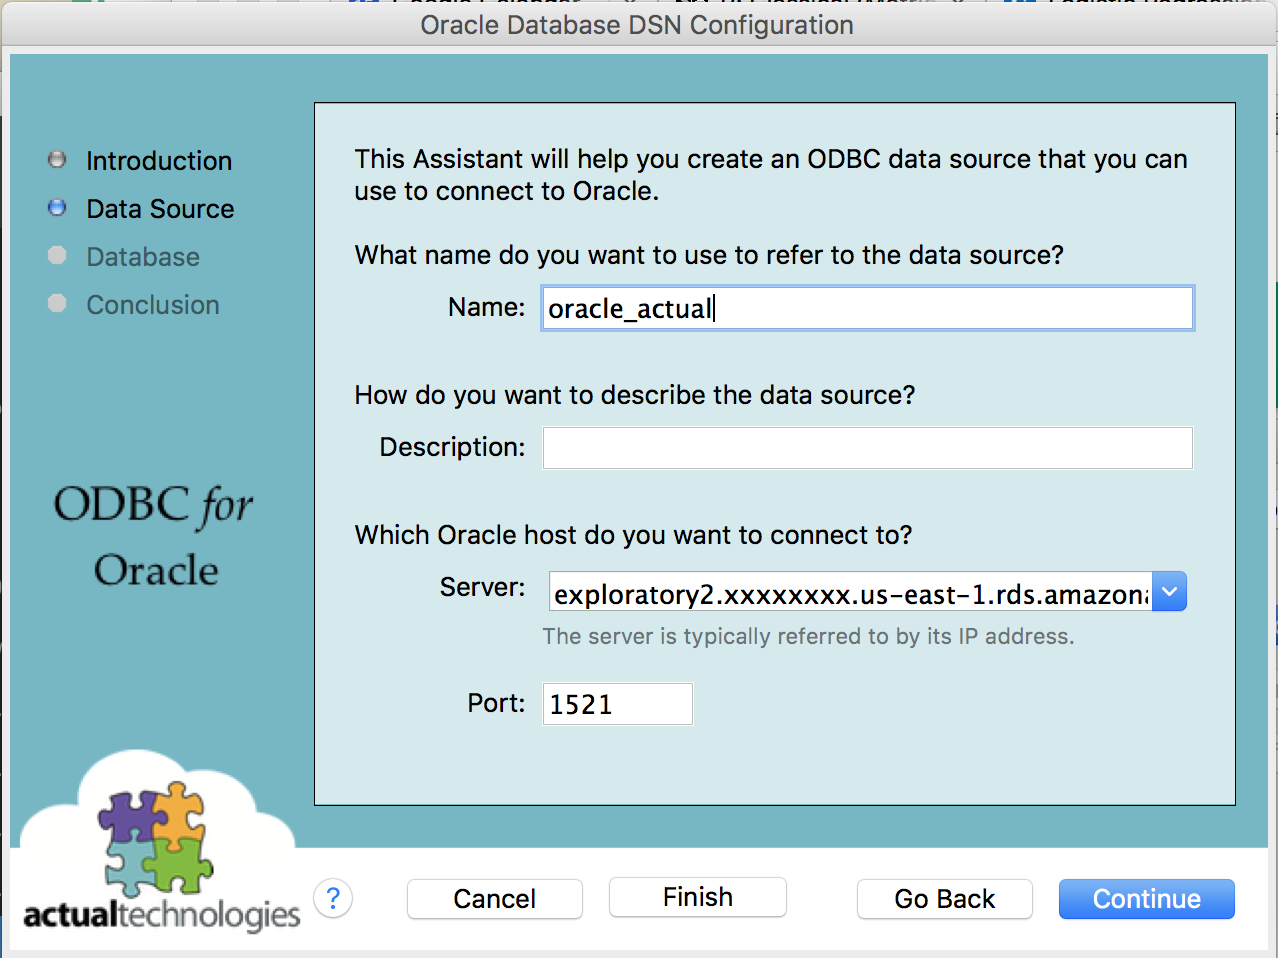
Enter required informations and select the Oracle 23 ODBC driver that you just installed.
Click the Test Connection button and make sure it works.