This note describes how to set up a connection to Oracle Database through ODBC with Oracle’s Instant Client on Windows.
1. Install Microsoft Visual C++ Redistributable
Oracle’s Instant Client requires the Microsoft Visual C++ Redistributable. If you haven’t installed it yet, do so first. Download the installer from this link and run it. For more details, see Latest Microsoft Visual C++ Redistributable Version.
2. Install Oracle Instant Client
Visit the Oracle Instant Client Downloads for Microsoft Windows (x64) 64-bit page (registration required). Multiple driver versions are available. Choose the version certified for your Oracle Database and download the following two packages:
- Basic package
- ODBC package
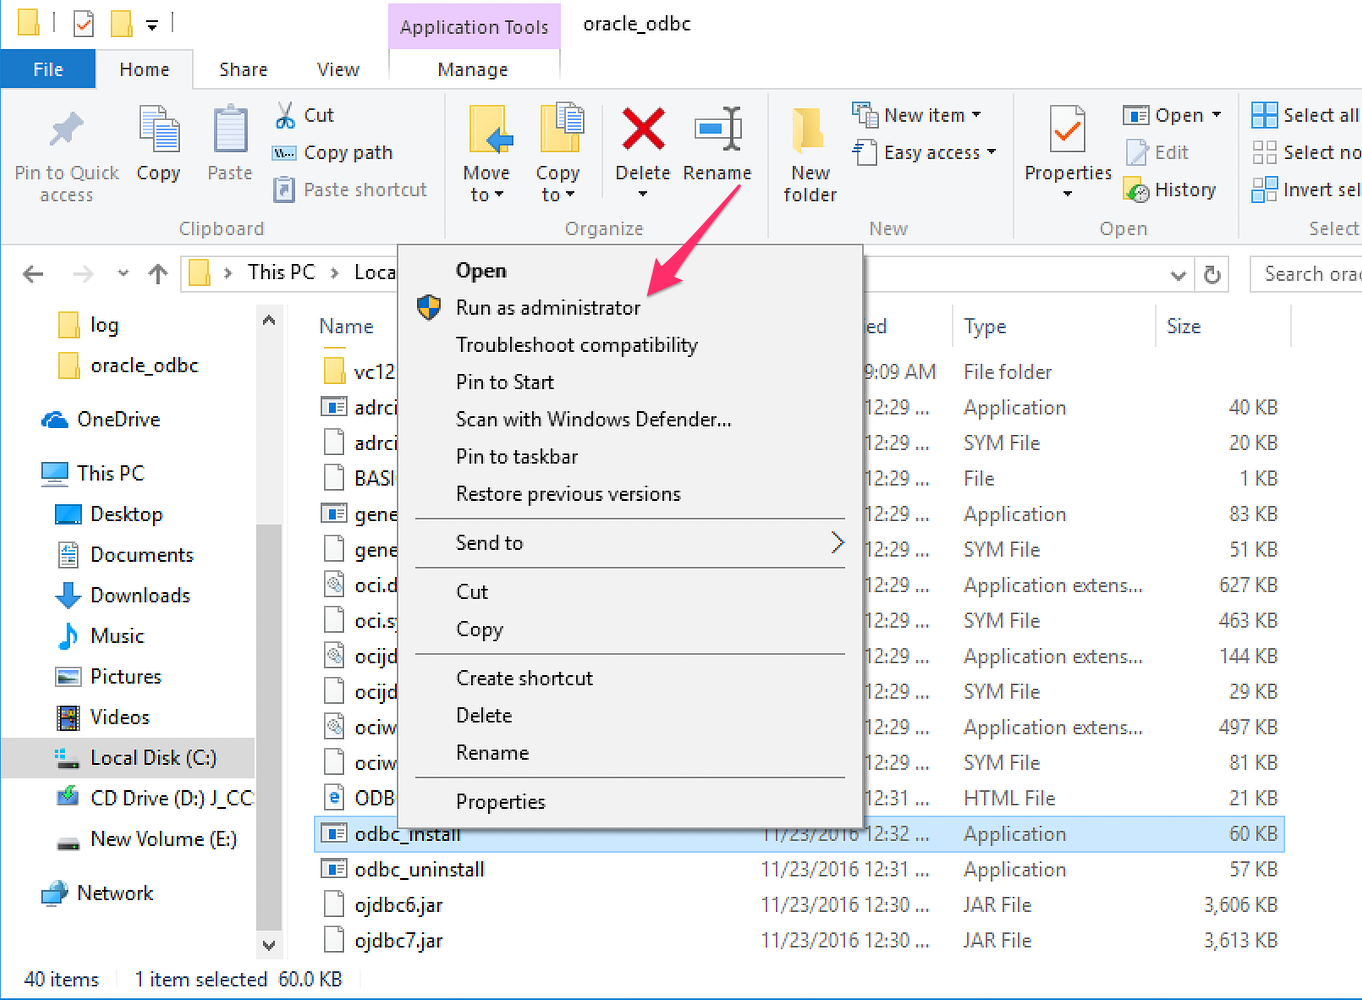
After downloading, extract both packages into the same directory,
e.g., C:/Oracle/oracle_odbc. You should see the files from
both zip files in this directory.

Then, run odbc_install.exe as Administrator by
right-clicking it and selecting Run as
Administrator.
3. Set Environment Variables
After installing the required software, set up two environment
variables that point to the Oracle Instant Client installation directory
(e.g., C:/Oracle/oracle_odbc).
To set an environment variable, type “environment” into the Windows search box. You should see a result like “Edit the system environment variables”.
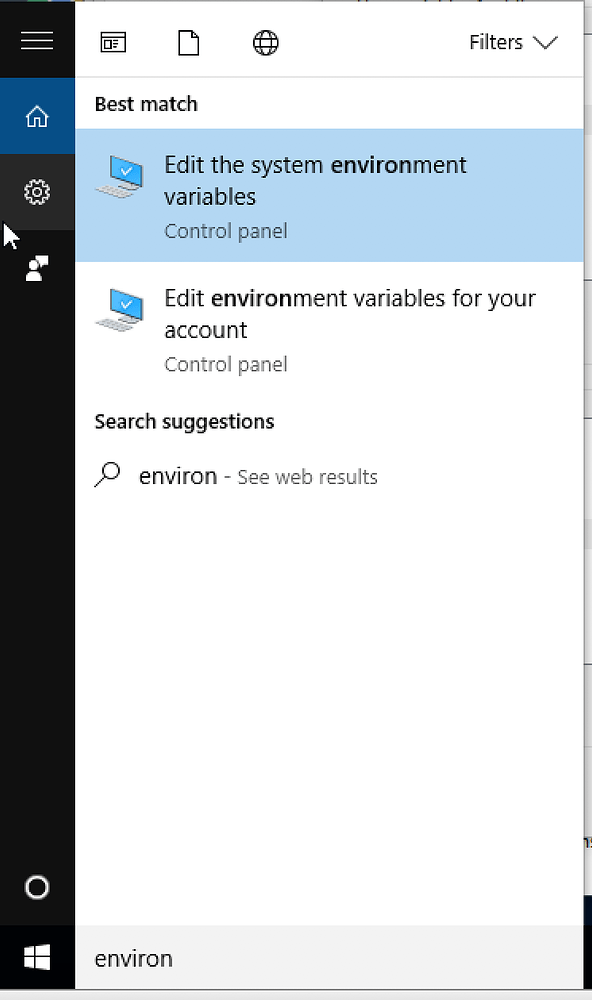
Click on it to open the System Properties window.

Then, click “Environment Variables…”.
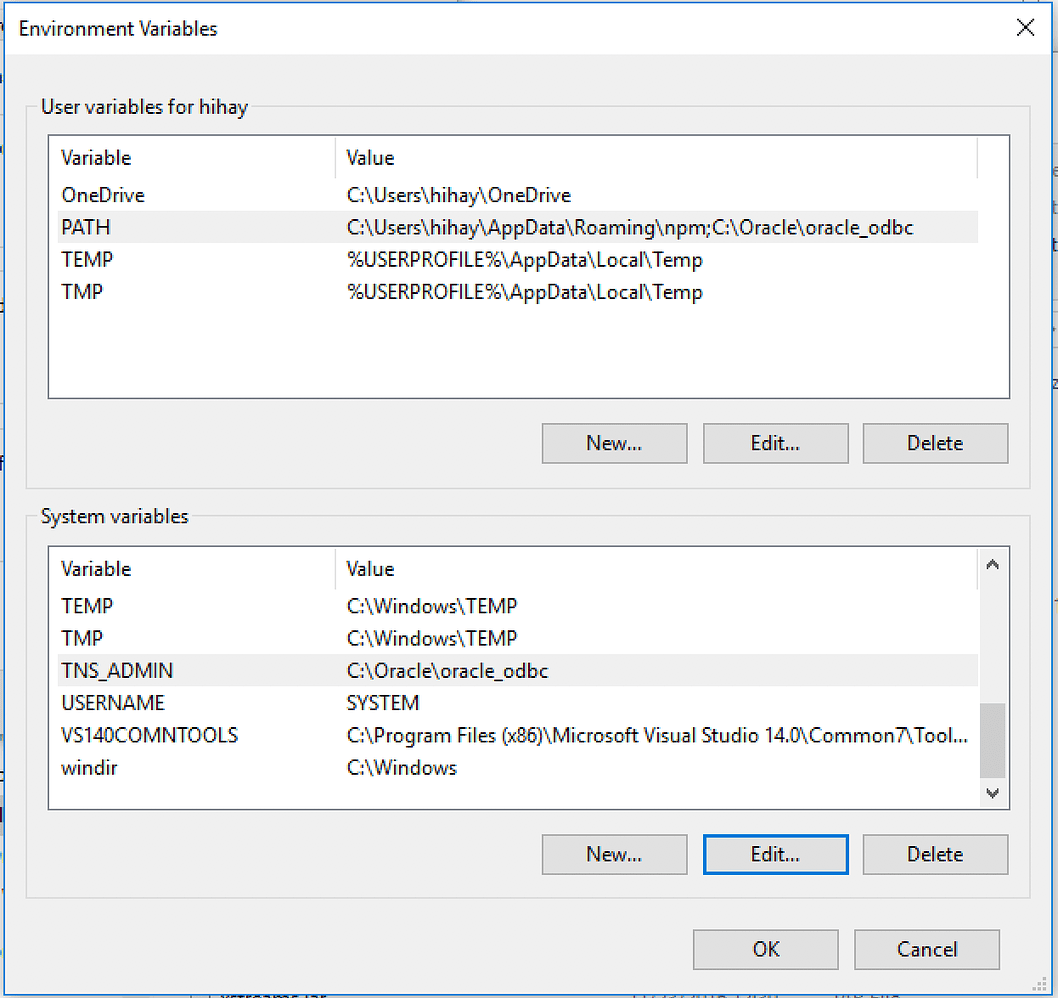
3.1 Update PATH Environment Variable
In the User variables pane (upper section), select PATH and click Edit…. In the dialog that appears, click New and enter the Oracle Instant Client installation directory path.

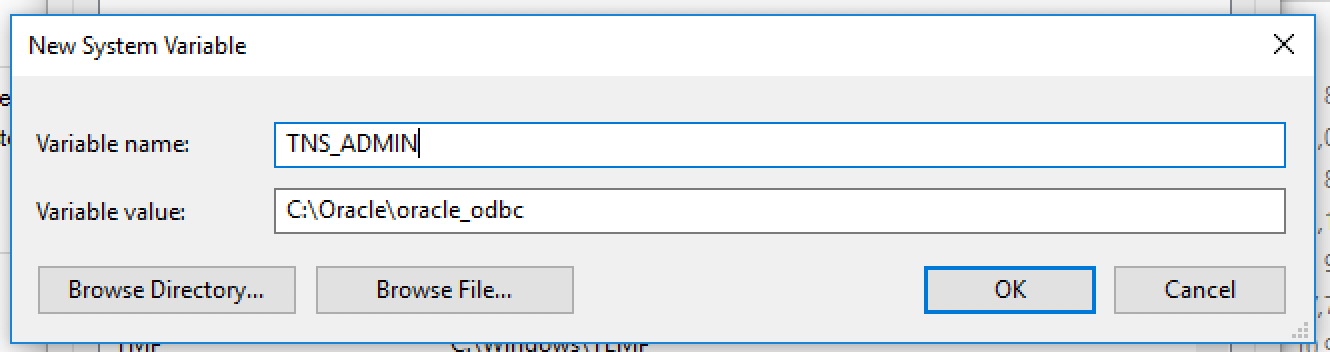
3.2 Add TNS_ADMIN Environment Variable
In the System variables pane (lower section), click
New, set TNS_ADMIN as the Variable
name, and enter the Oracle Instant Client installation
directory as the Variable value. Click
OK to save the changes.
4. Create a Connection on Exploratory
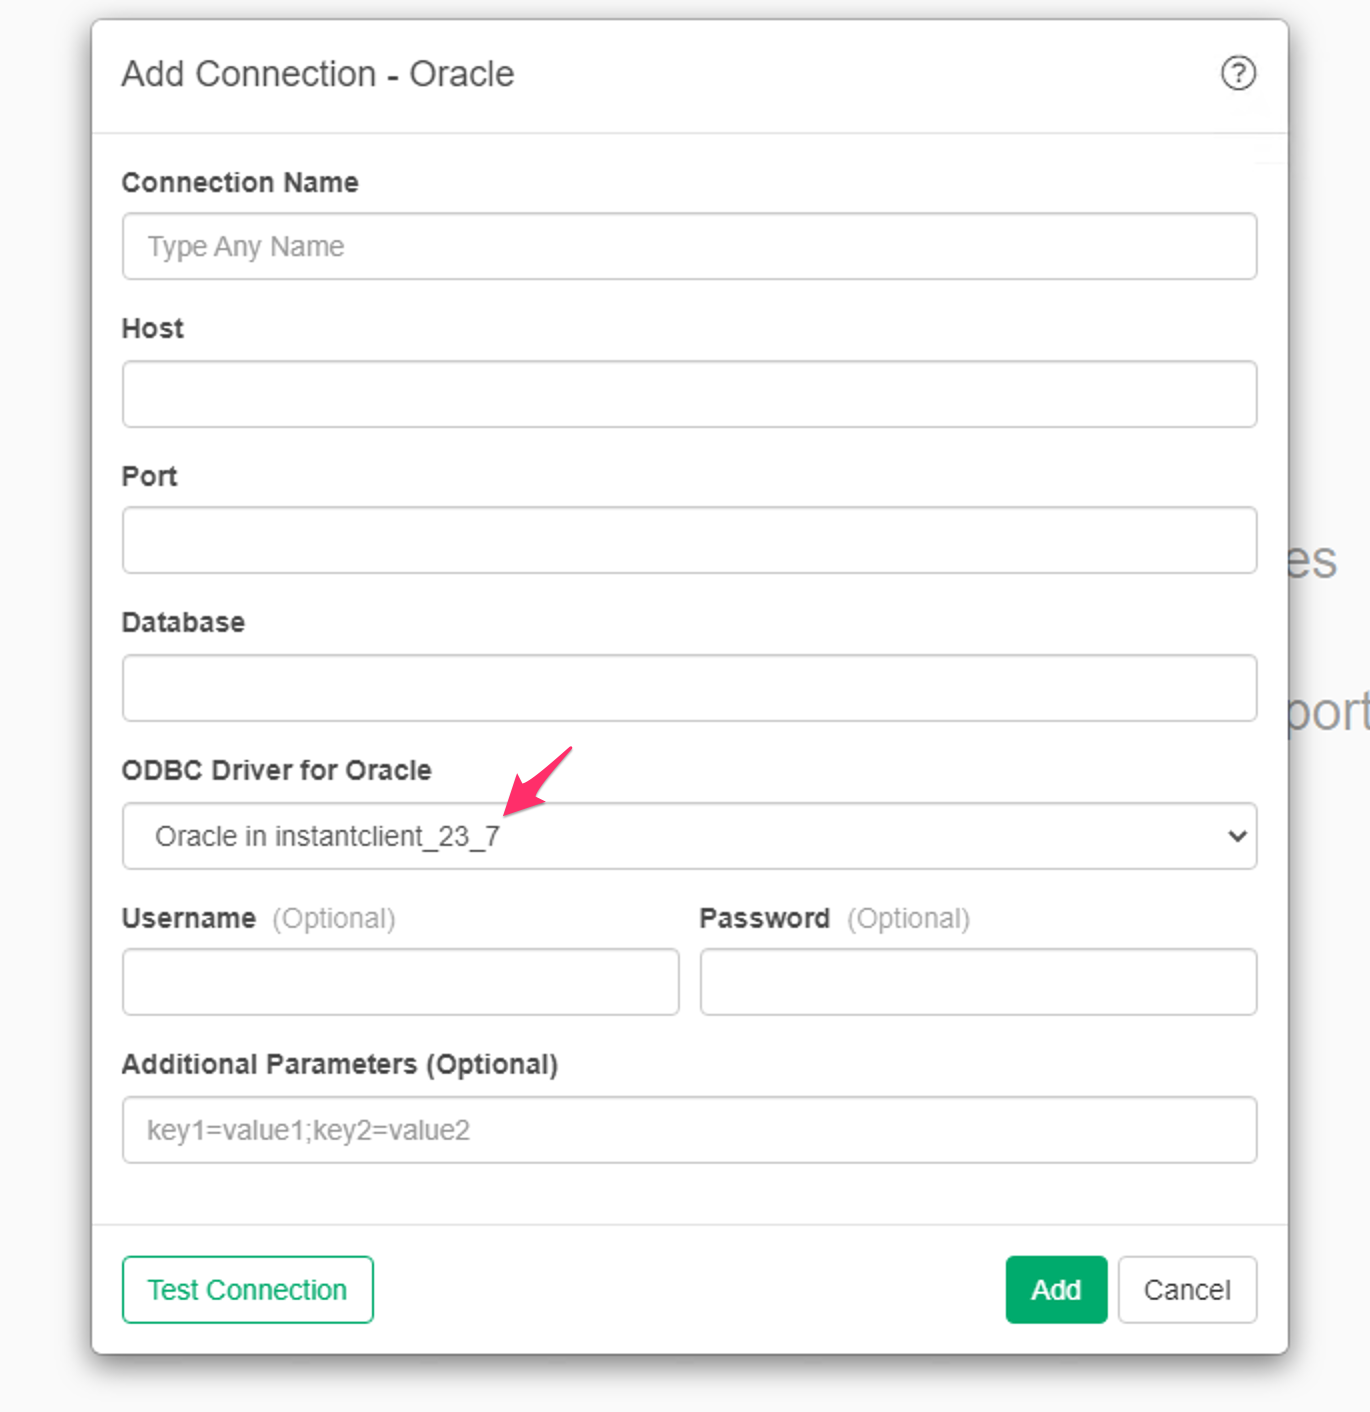
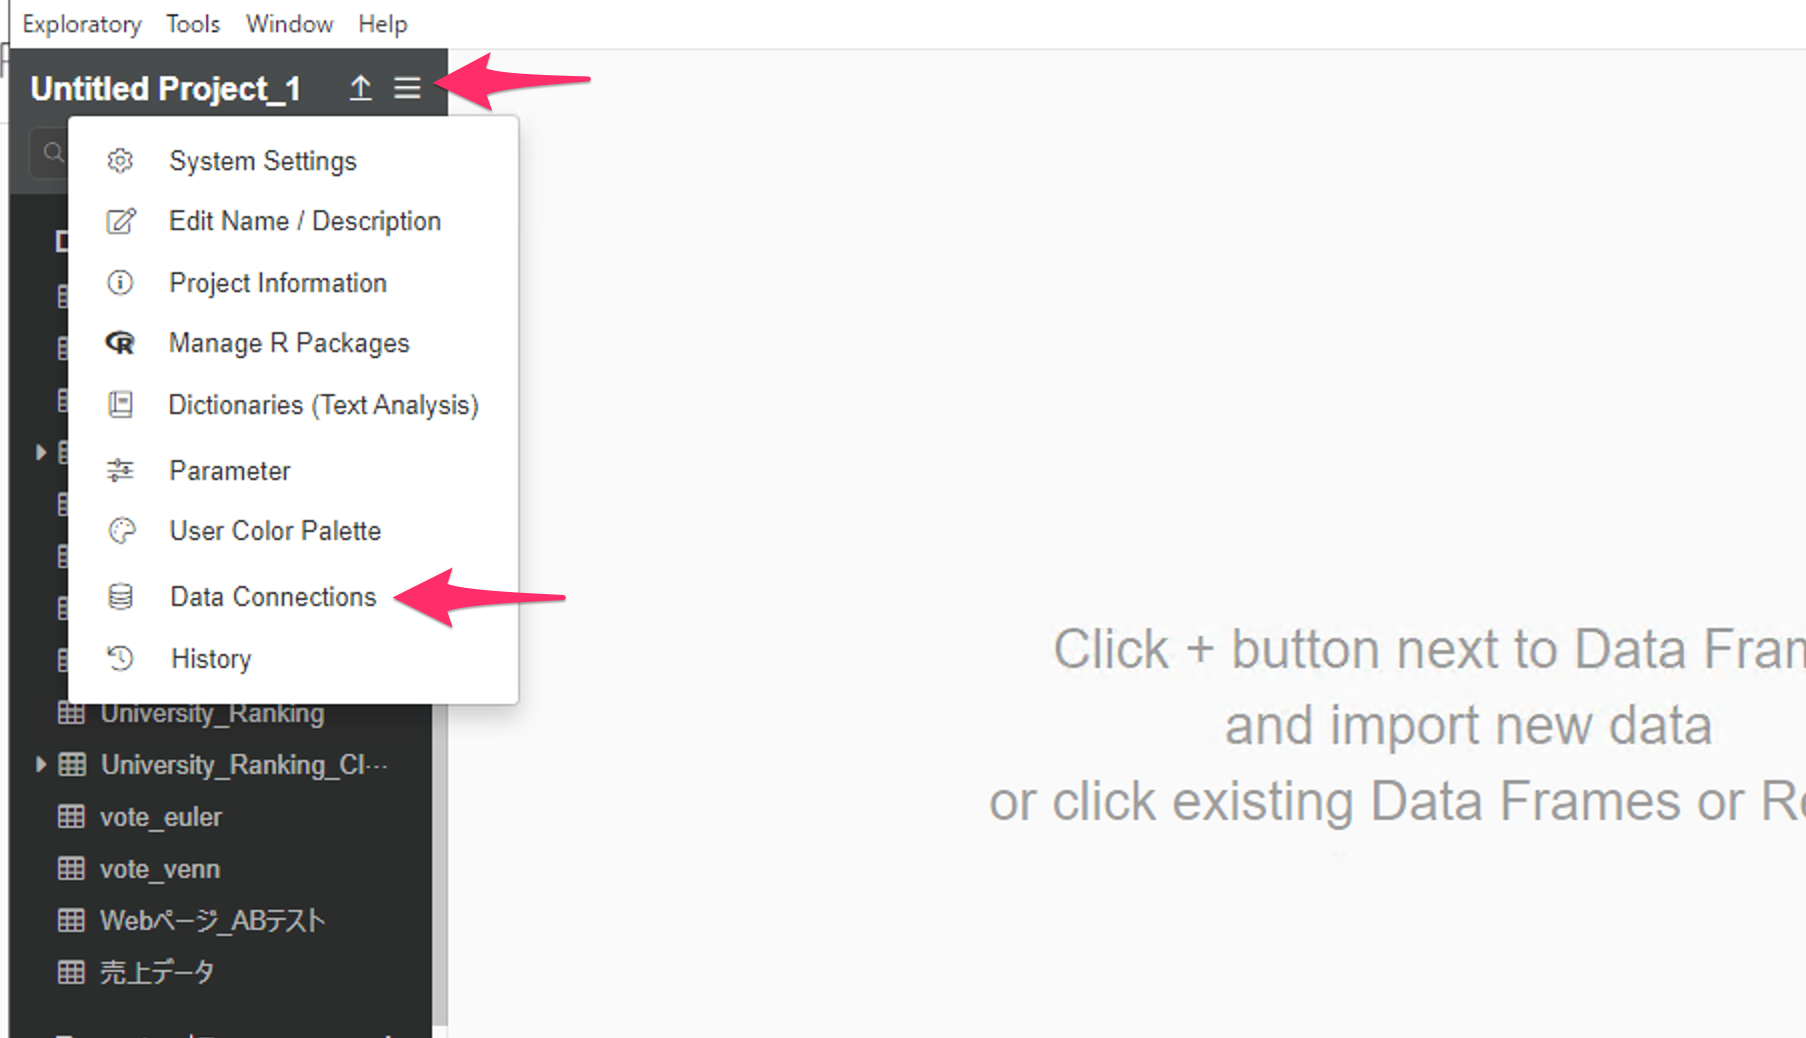
Now, open Exploratory to set up a connection to the Oracle Database. Start Exploratory, open a project, and select Data Connection from the project menu.
 Click
Add to create a new connection. The following dialog
will appear. Ensure that the ODBC Driver you installed appears in the
ODBC Driver for Oracle dropdown. Fill in your Oracle
database details to complete the setup.
Click
Add to create a new connection. The following dialog
will appear. Ensure that the ODBC Driver you installed appears in the
ODBC Driver for Oracle dropdown. Fill in your Oracle
database details to complete the setup.