How to Hash (Anonymize) Numbers or Strings
When dealing with data that contains personal information, you might need to transform original values like names or customer IDs into an unrecognizable format. This process ensures that the original values cannot be identified, while still assigning the same anonymized value to identical original values.
This is often achieved by hashing (anonymizing) numbers or strings. This note explains how to hash numbers or strings for data anonymization.
Basic Hashing (Anonymization)
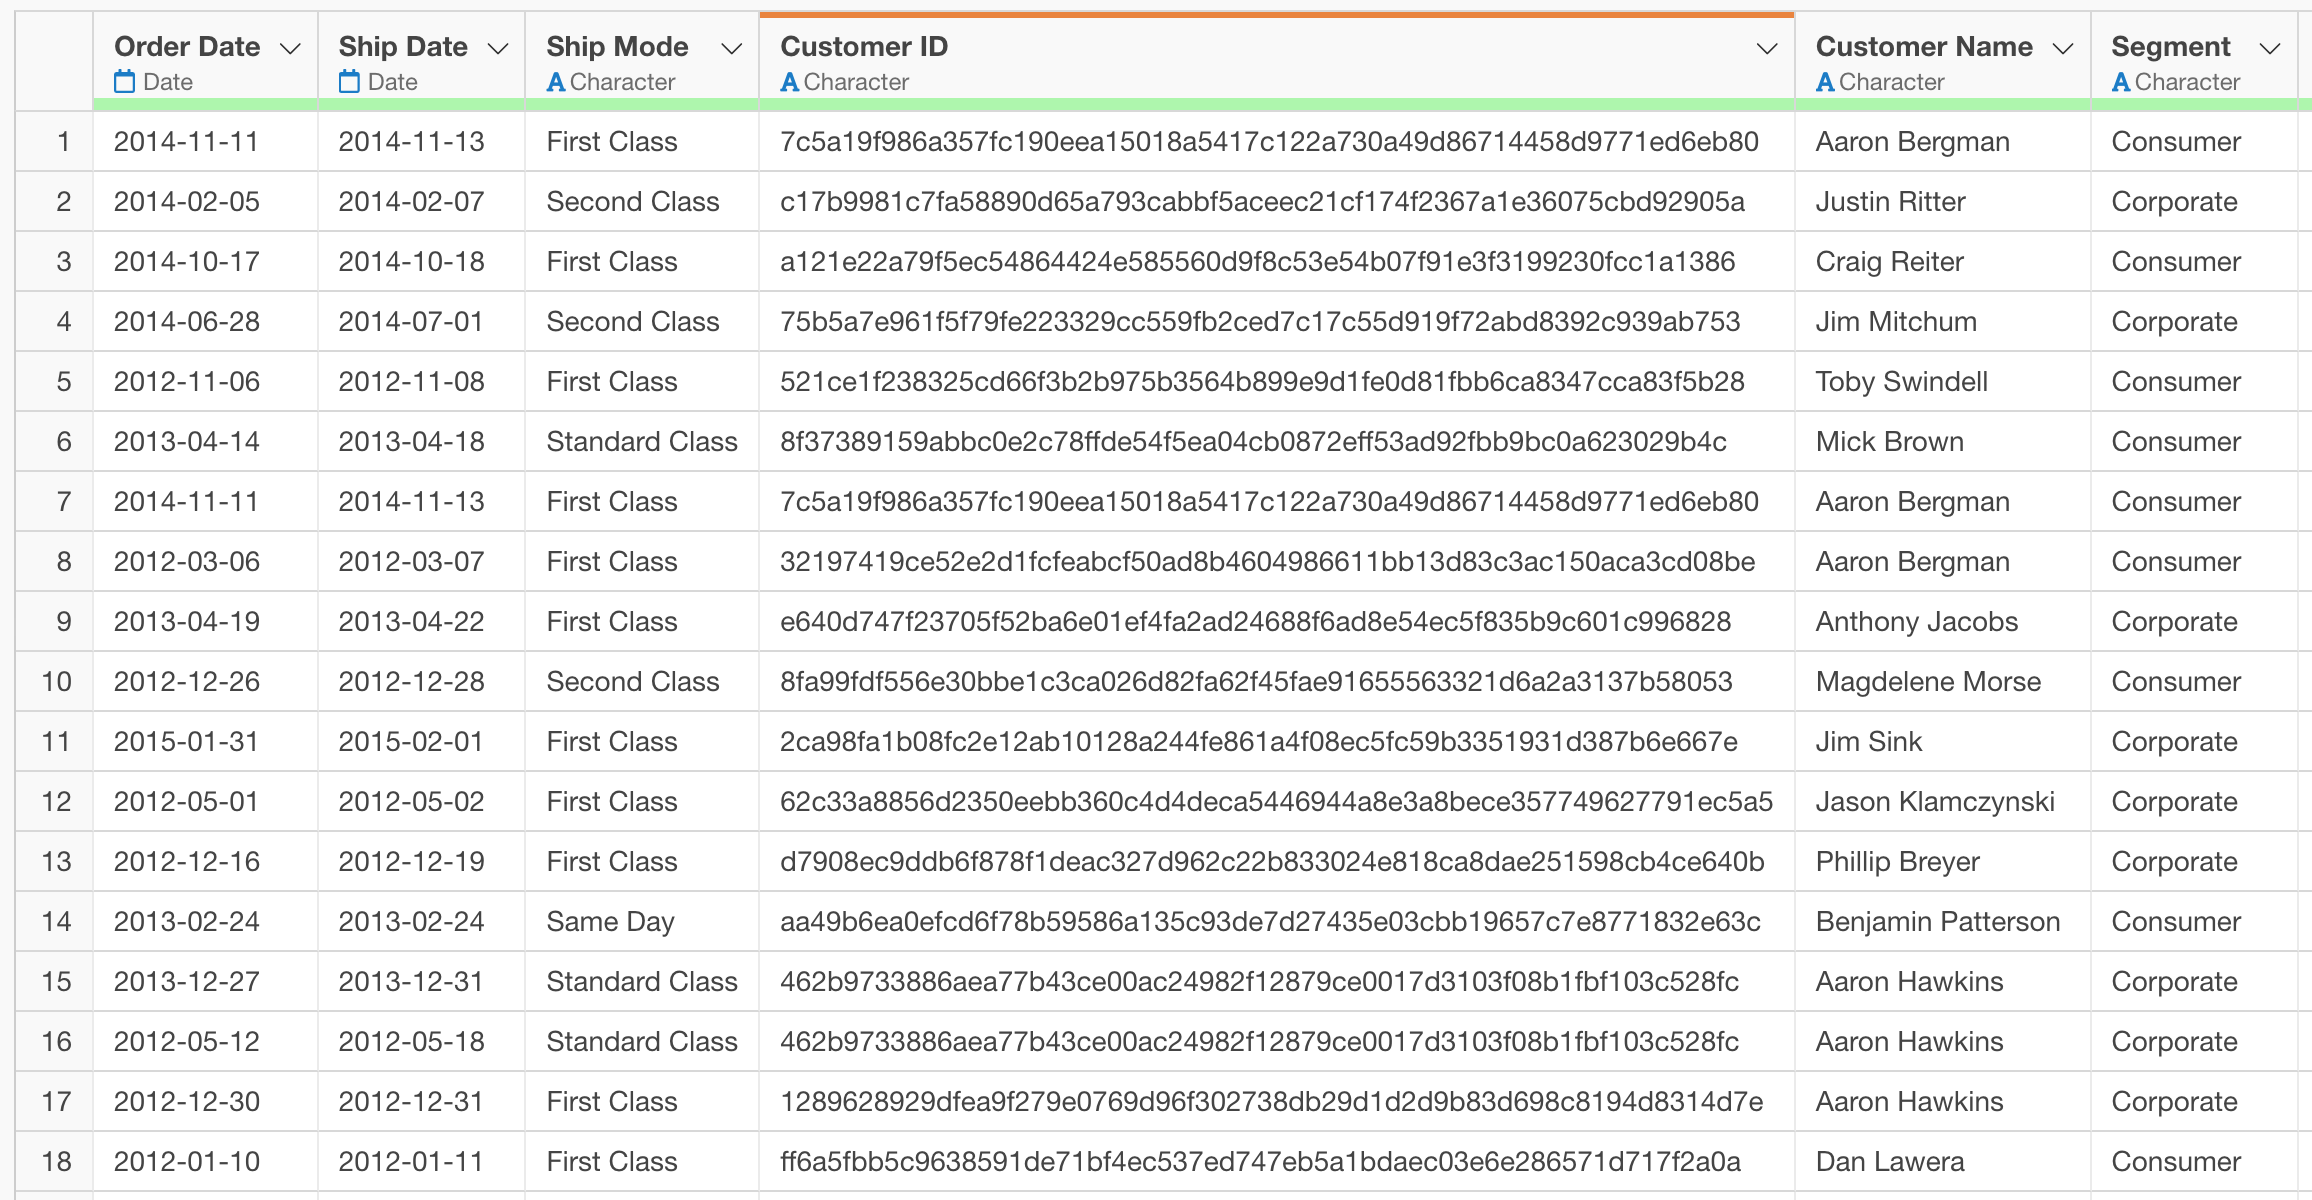
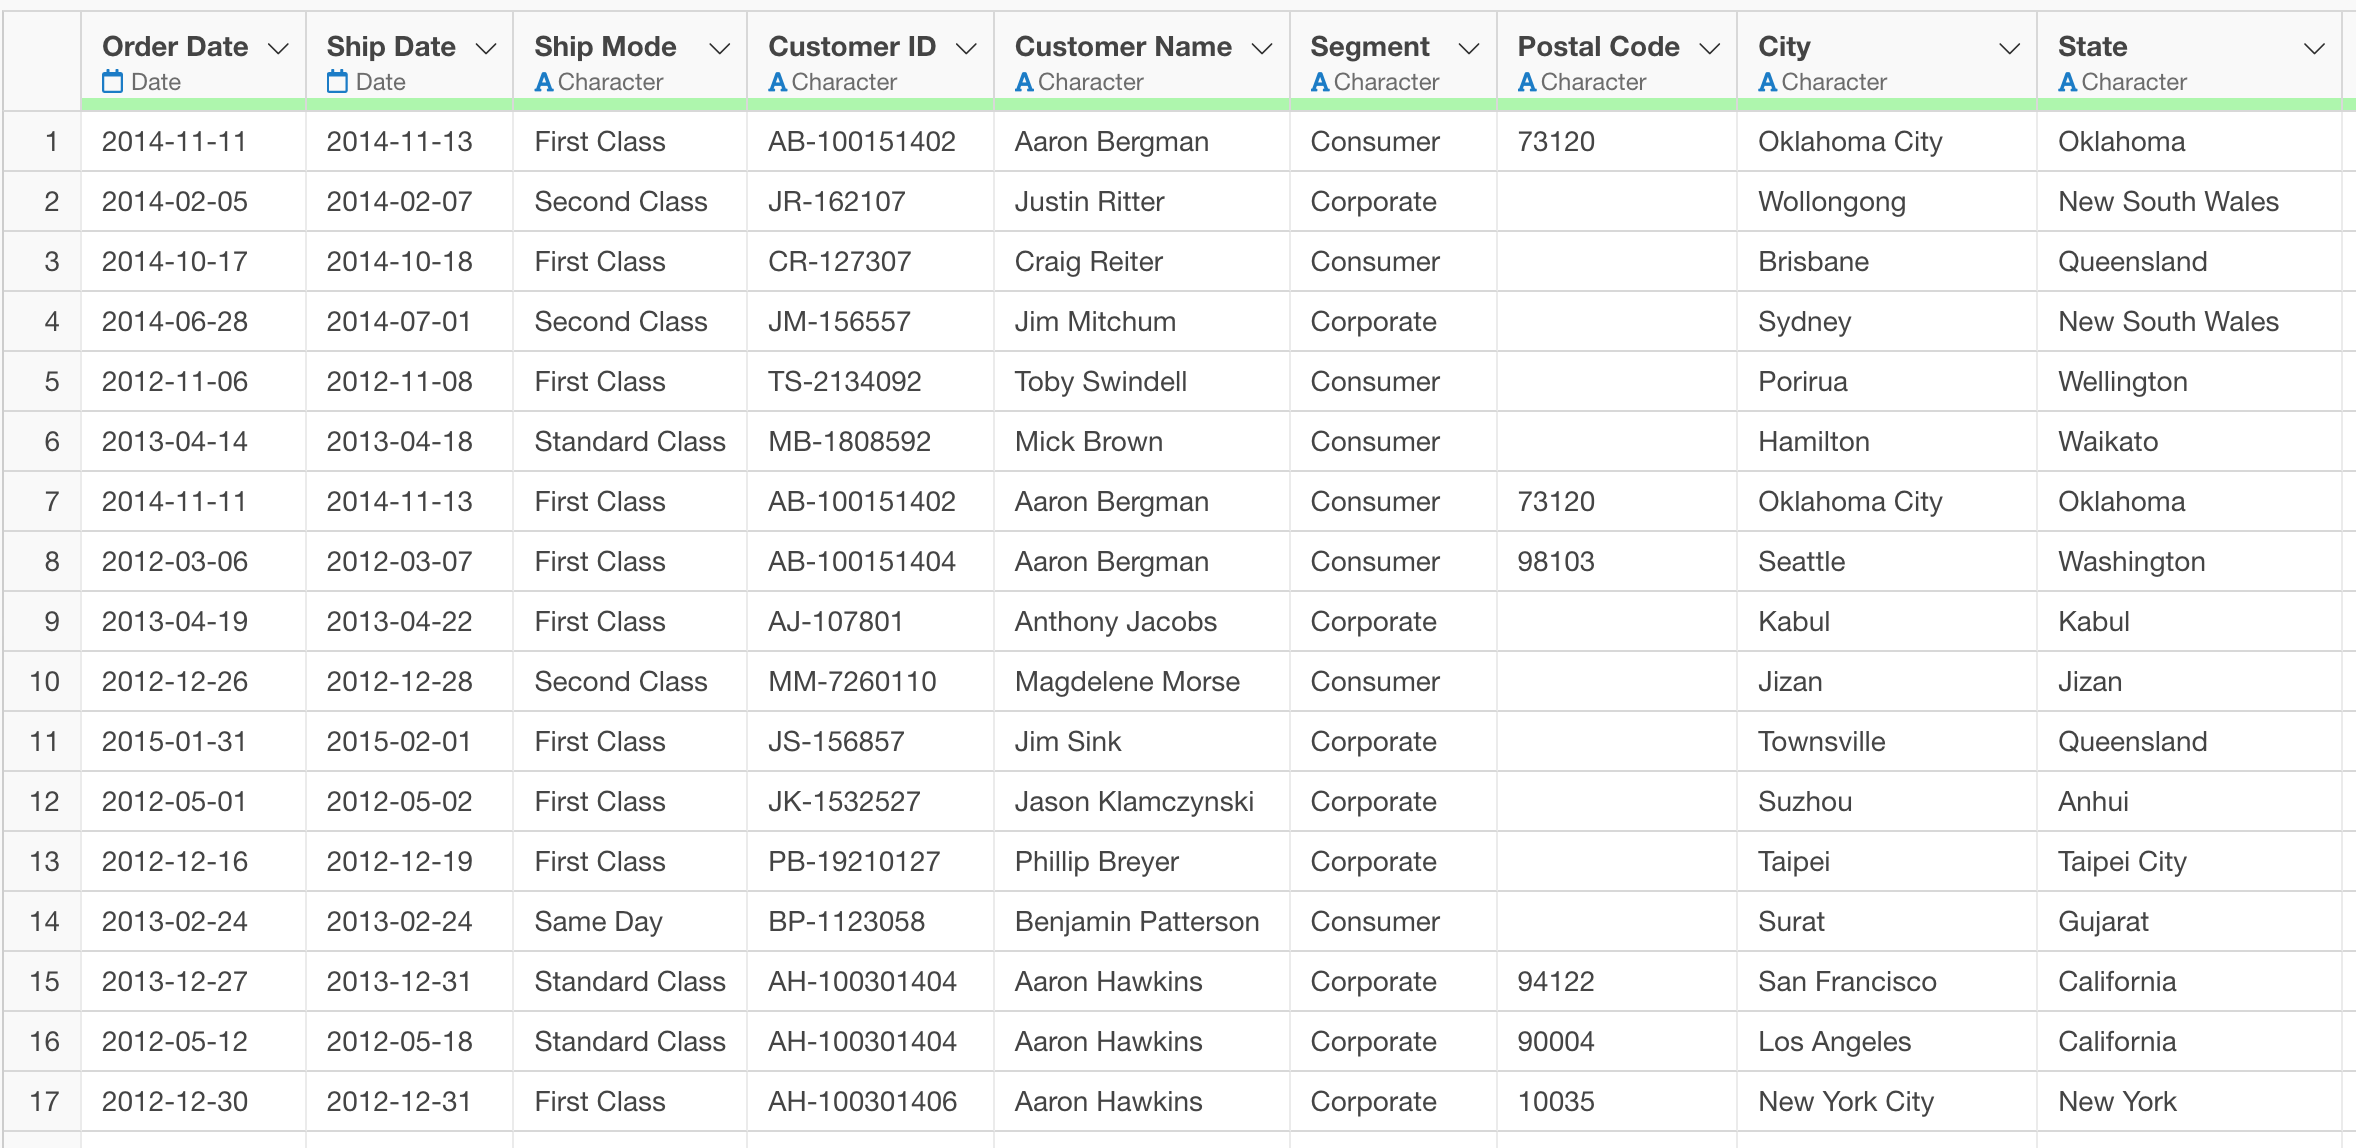
Let’s look at a data where each row represents a single order.
First, select “Work with Text Data” from the column header menu of the column(i.e. Customer Name) you want to process, then choose “Convert” and “Anonymize.”

A dialog box for text conversion will appear.
Click the “Preview” button to confirm that the data has been anonymized, then click “Run.”

This process transforms the original customer names into an unrecognizable format, assigning a unique anonymized value to each customer.
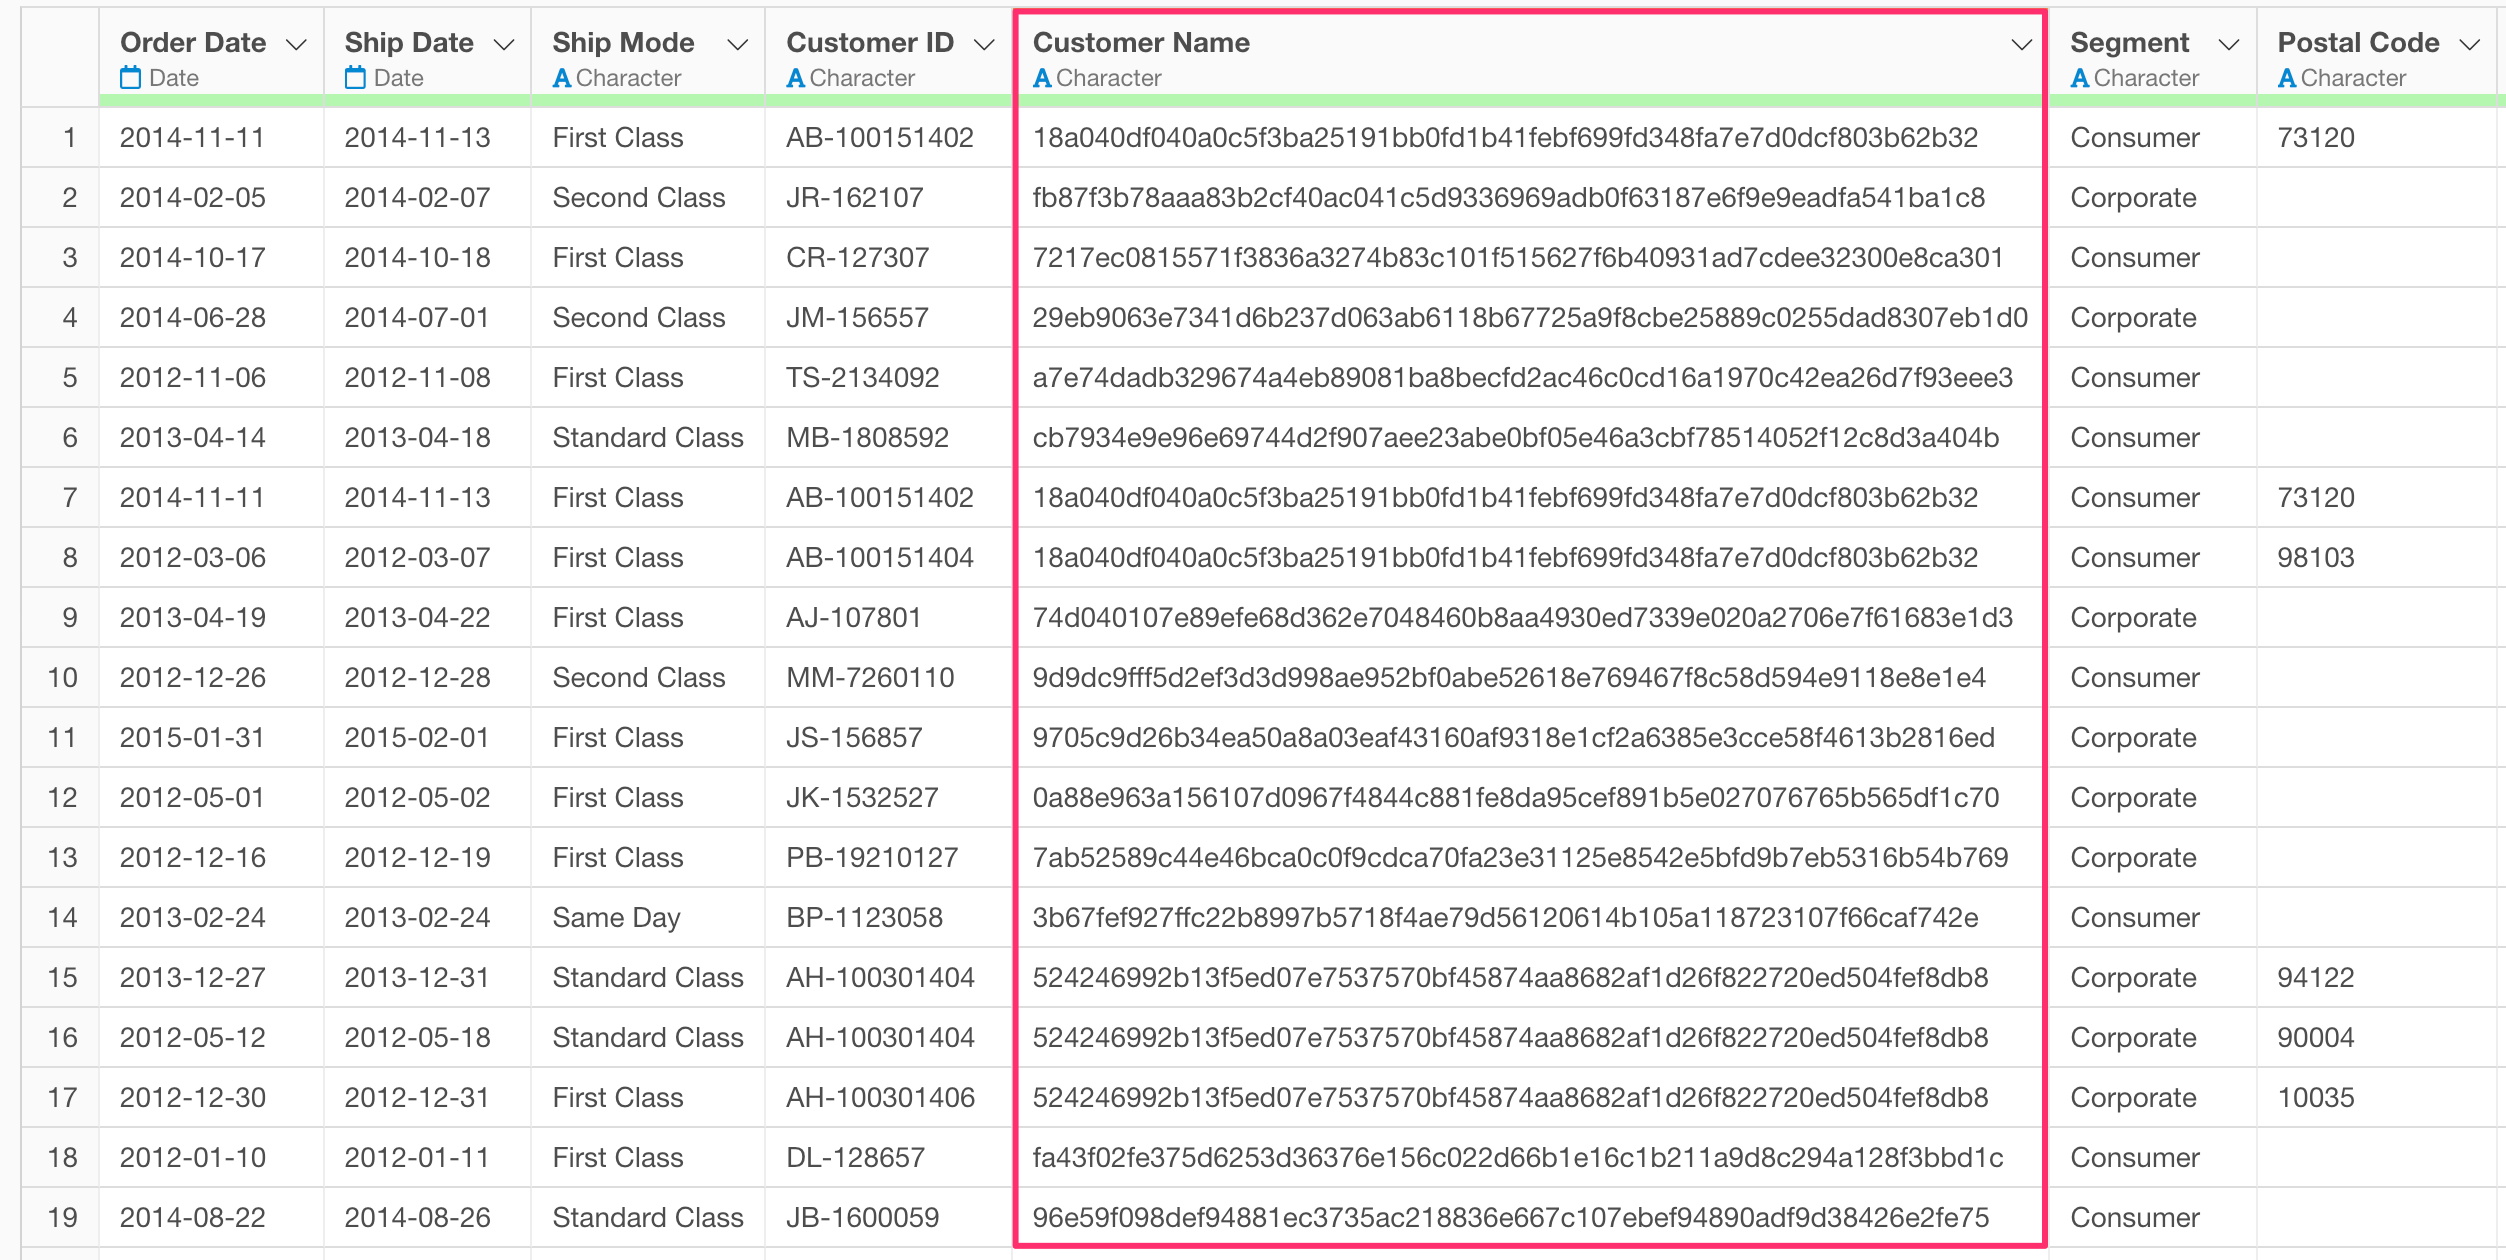
For example, customers in rows 15 through 16, who shared the same customer ID, have been anonymized to the same value.

Hashing with a Custom Key (Salt)
In some cases, you may want to use a custom key—also known as a salt—when performing hashing. A custom key is an additional string you can provide during the hashing process to make the resulting value more secure.
By using a custom key, even if the input is the same, the generated hash will be different. This adds an extra layer of protection against reverse-engineering or guesswork by third parties.
Exploratory supports this functionality using the following functions from the pre-installed openssl package:
- sha1
- sha224
- sha256
- sha384
- sha512
- keccak
- sha2
- sha3
- md4
- md5
- blake2b
- blake2s
While the basic usage for all these functions is similar, we will
demonstrate an example using the sha256 function. First,
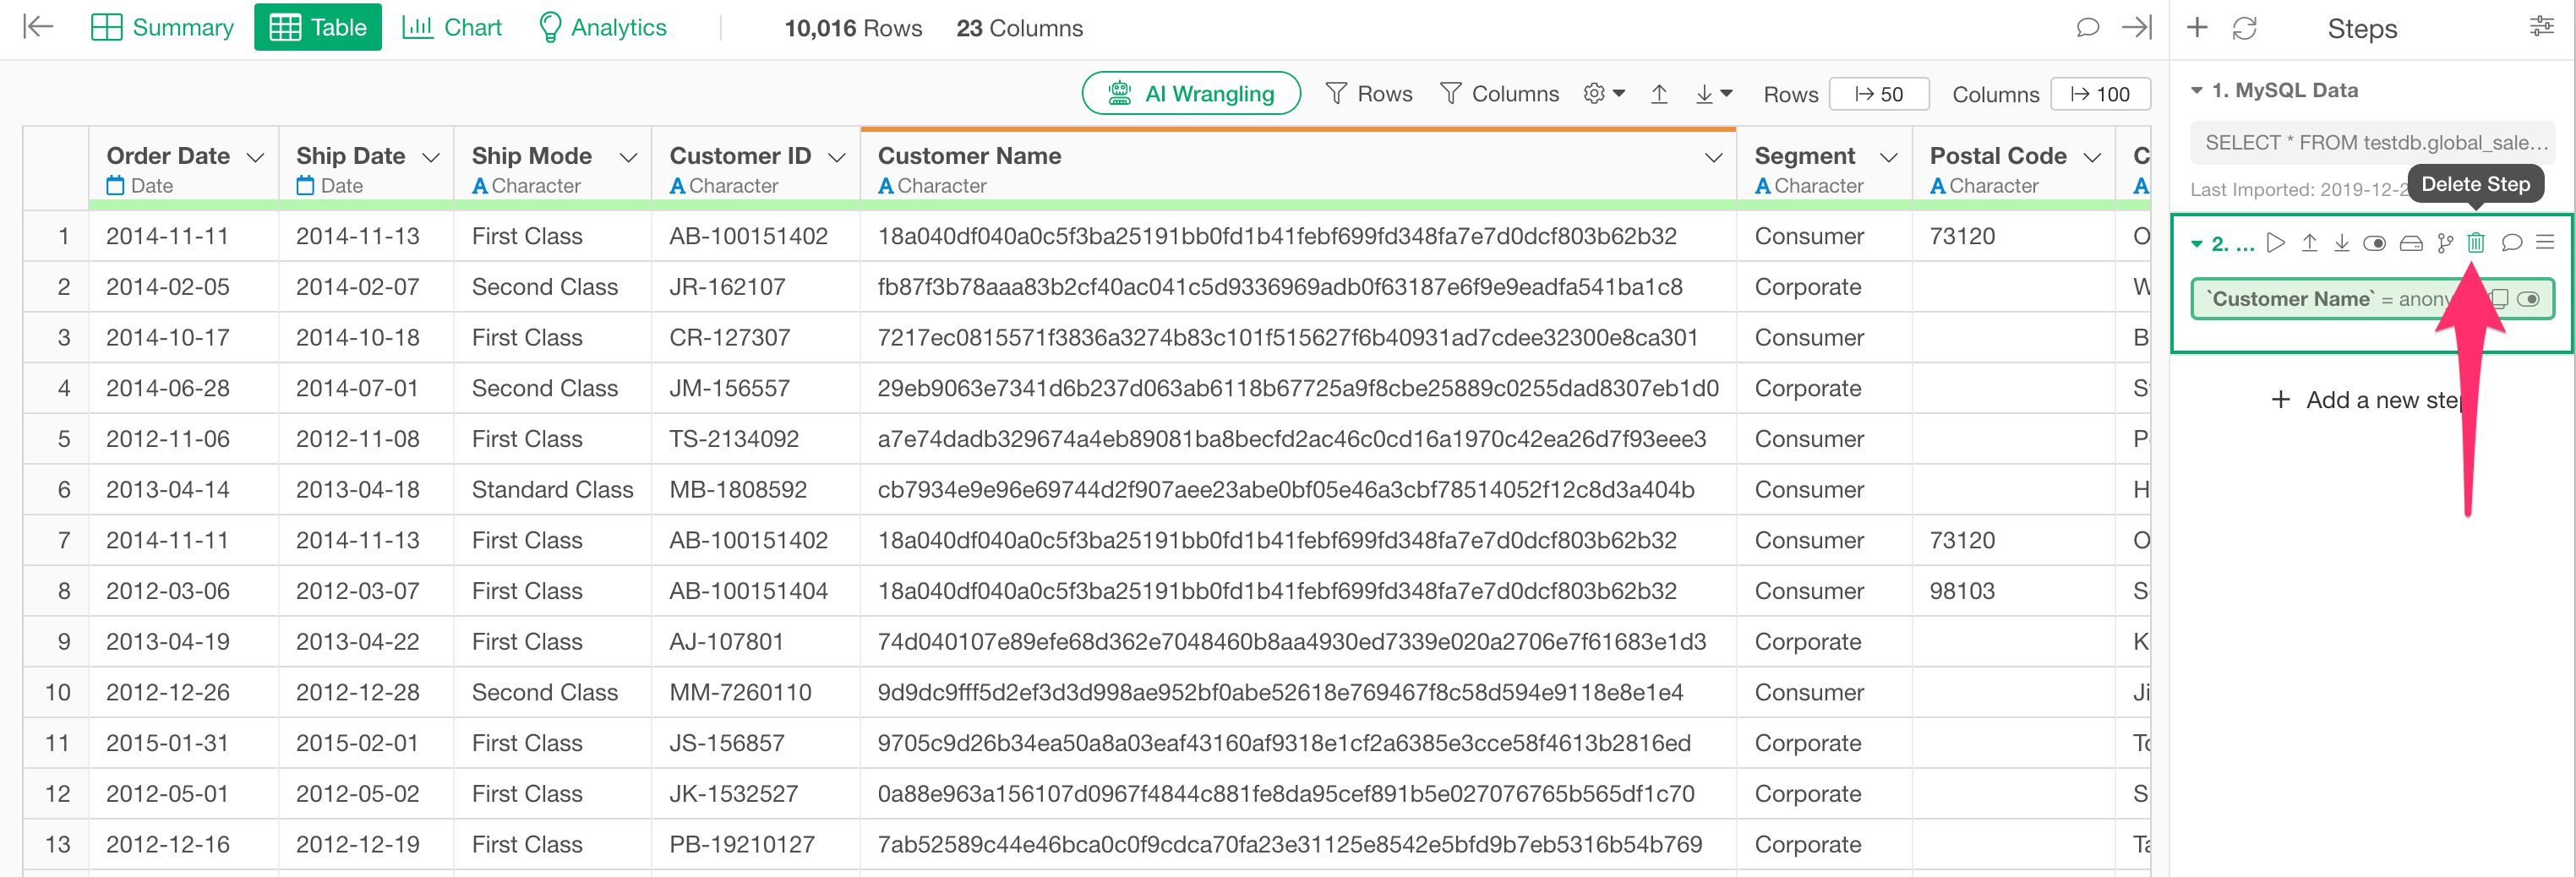
remove the text anonymization step that was previously added.
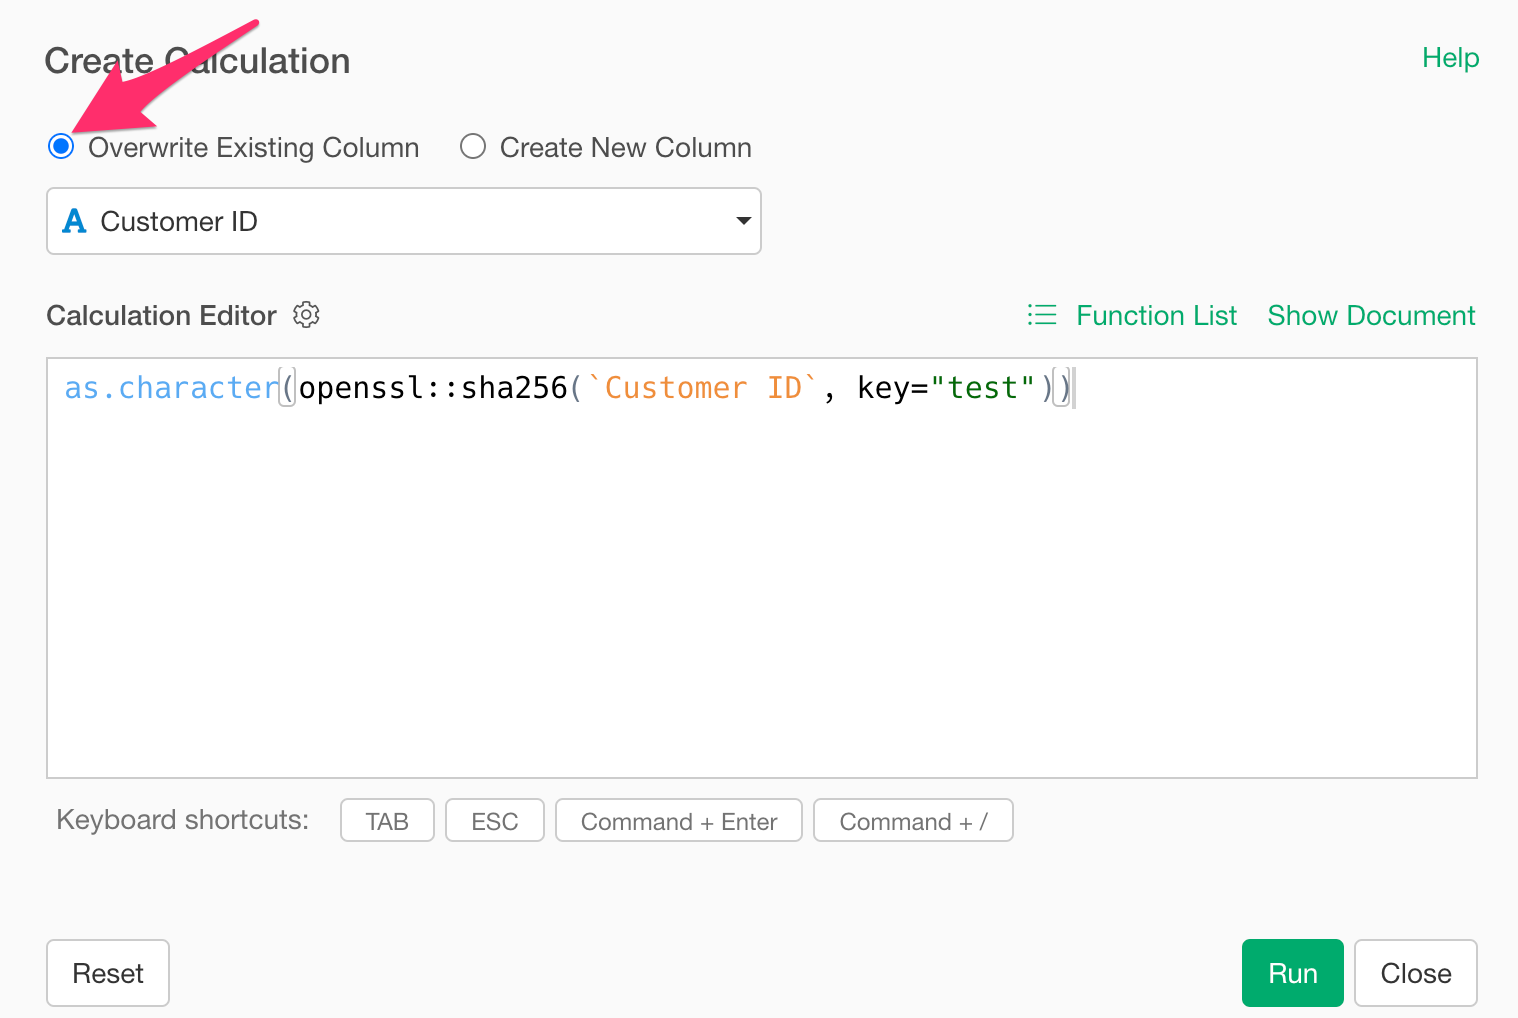
From the customer name column header menu, select “Create Calculation” and then “Standard.”
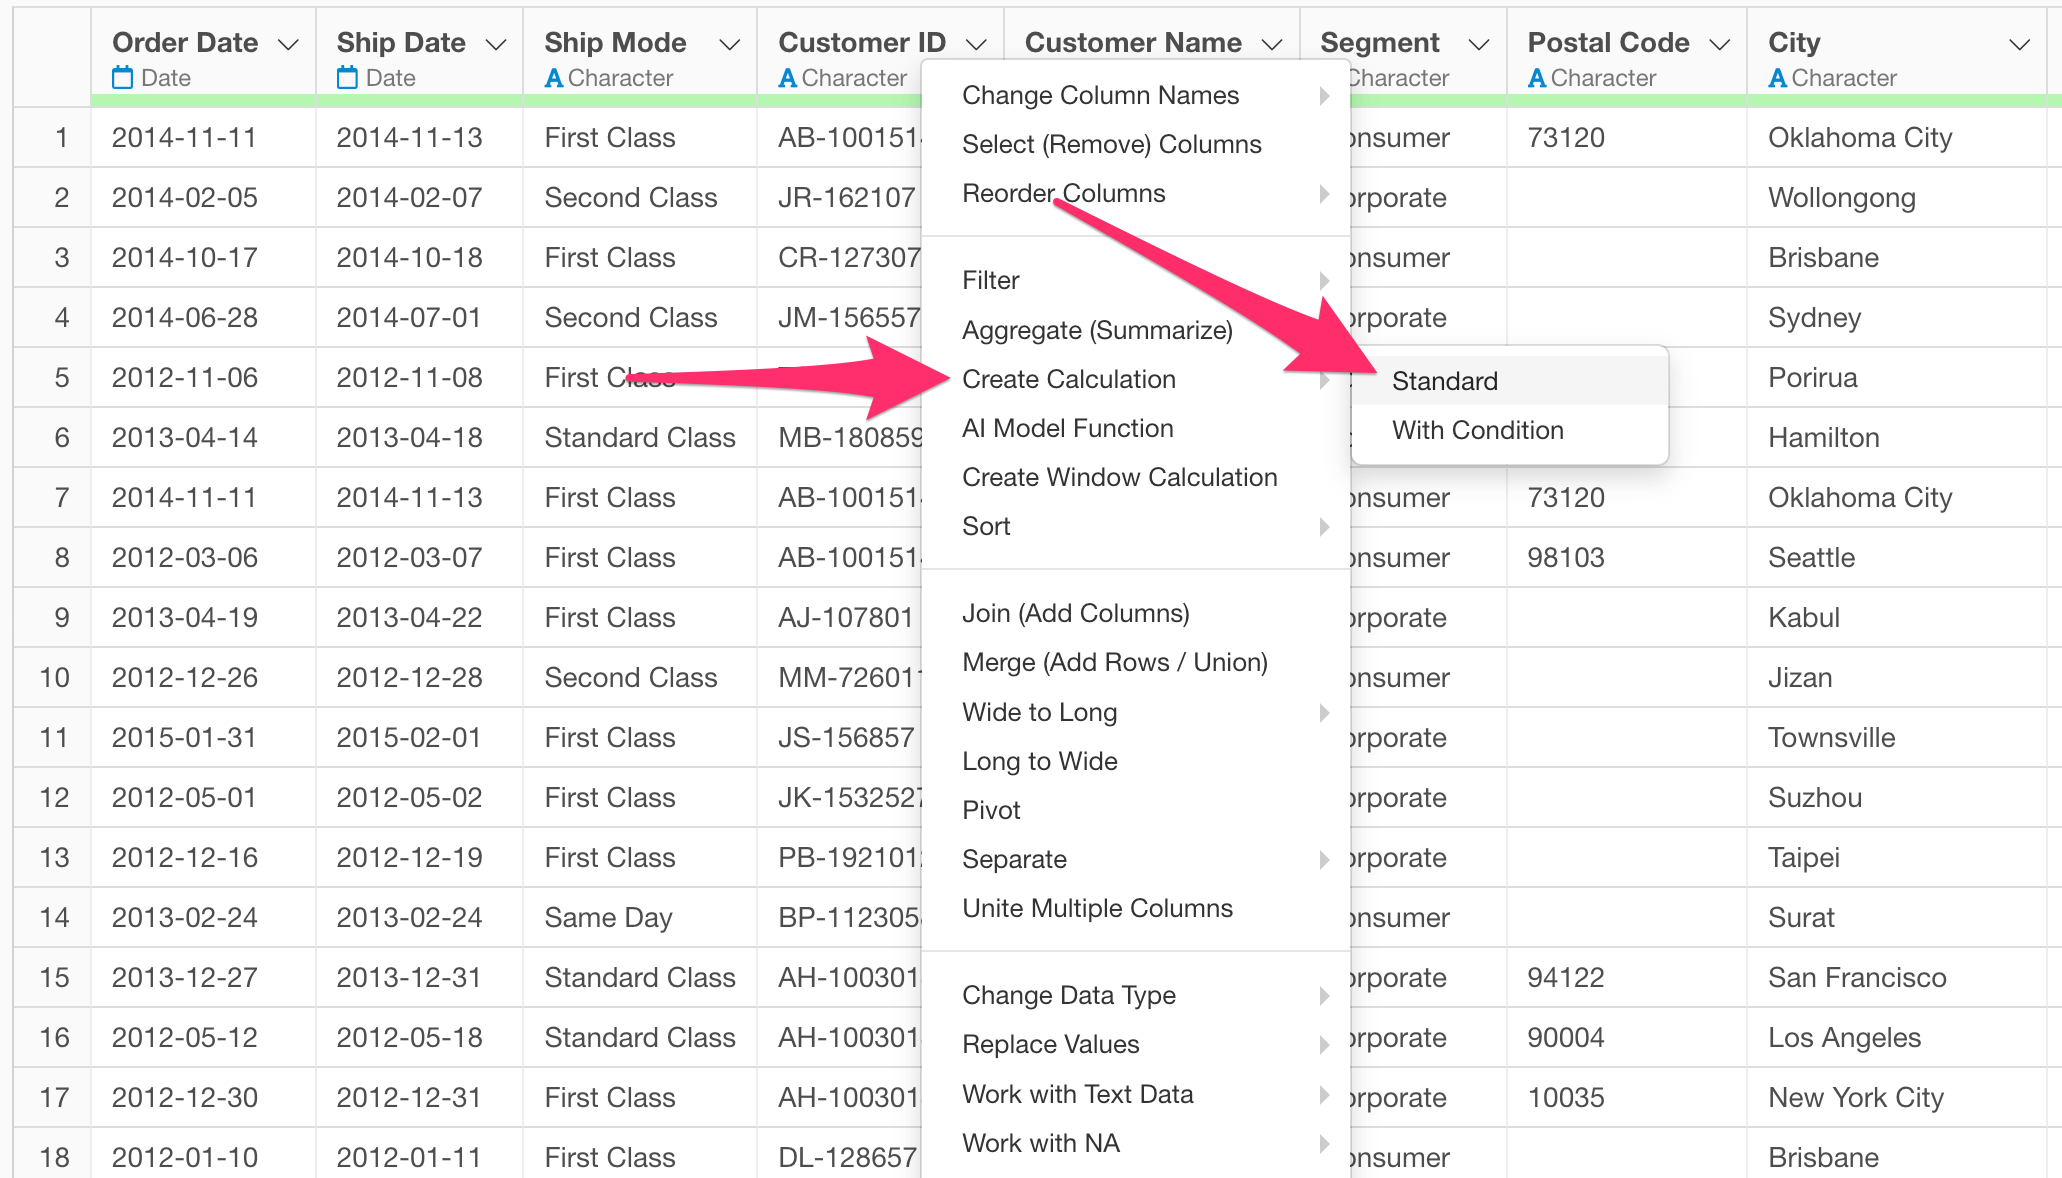
When the “Create Calculation” dialog opens, type the following to explicitly use the openssl package function:
openssl::sha256(`Customer ID`)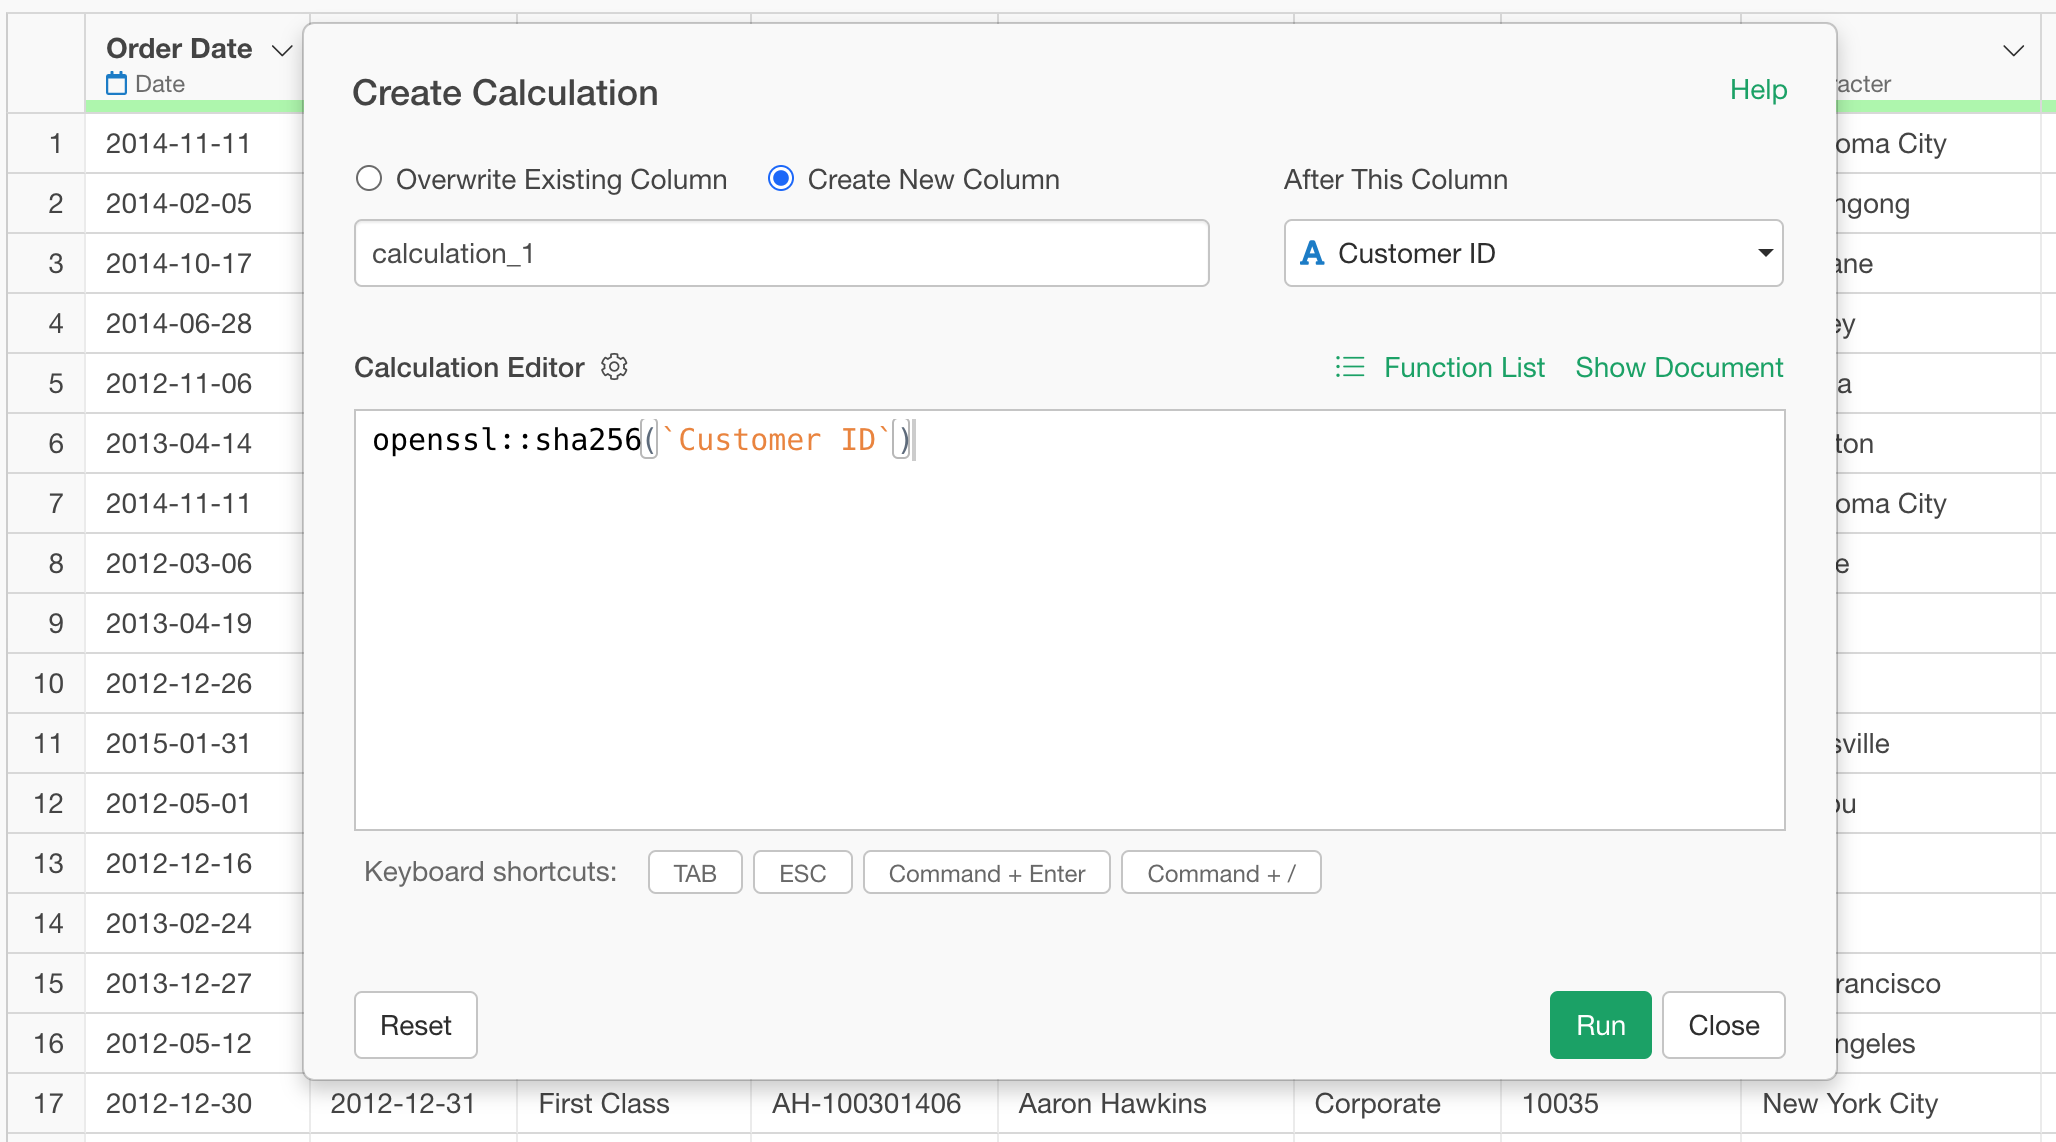
Next, specify a key using the key argument, as shown
below. In this example, we will use “test” as the key.
openssl::sha256(`Customer ID`, key="test")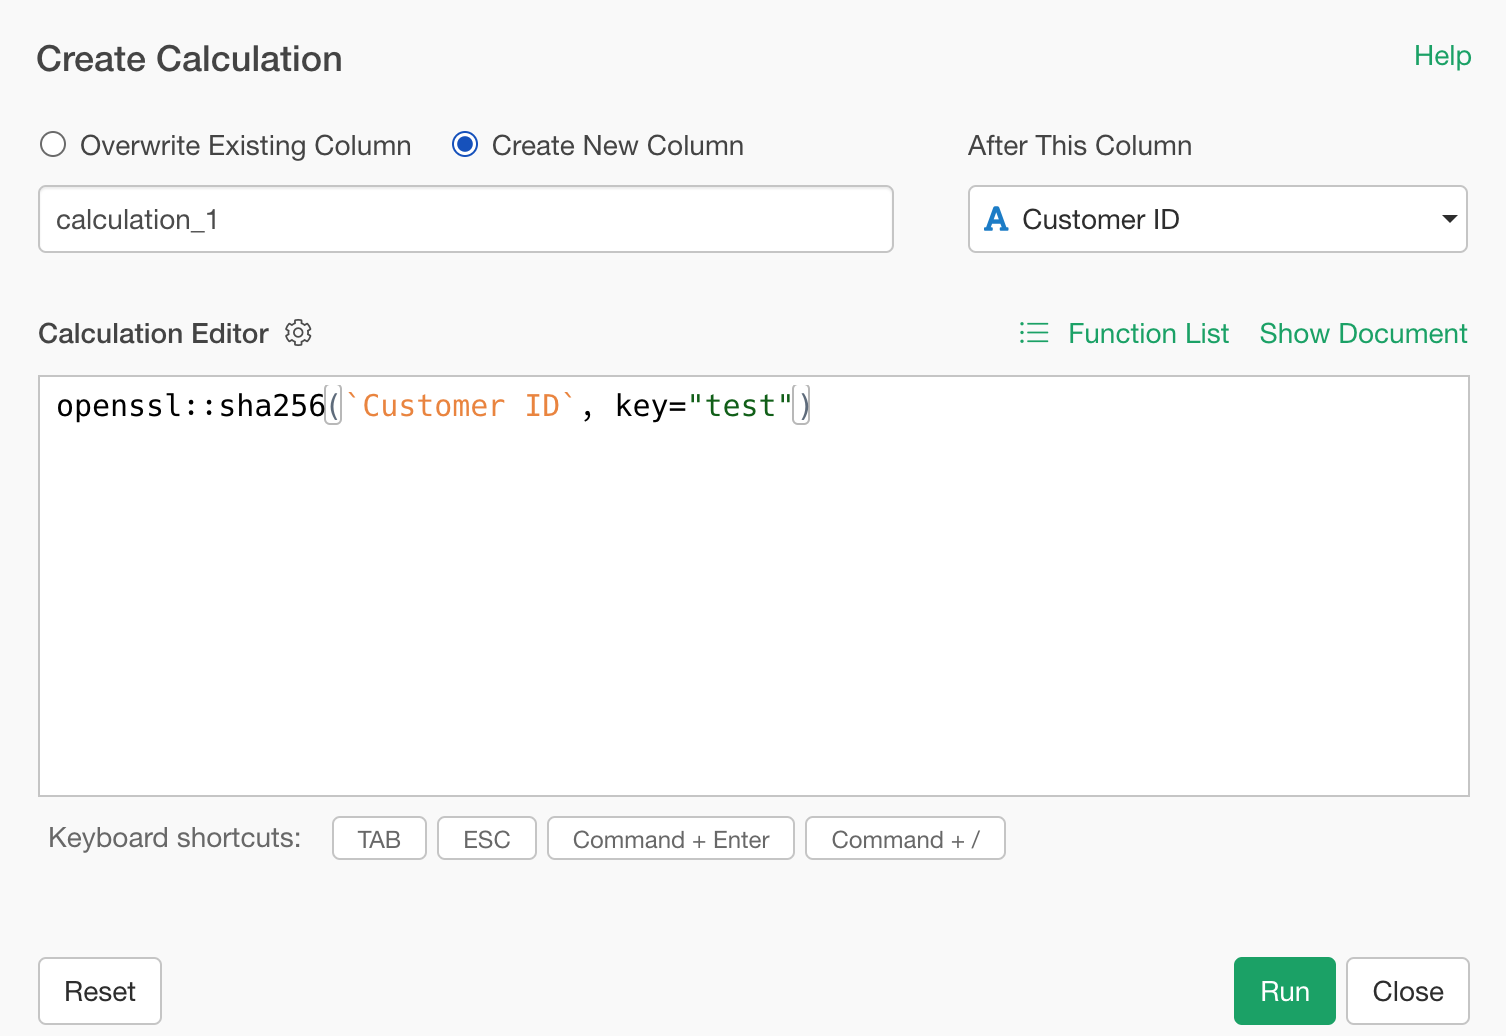
Remember to enclose the key in double quotation marks, as it is a string.
If you run this as is, it will return an error.
This happens because functions like sha256, which are
used for hashing, return additional information beyond just the hash
value, and Exploratory cannot process this output directly.
To resolve this, add the as.character function to
convert the result into a character string.
as.character(openssl::sha256(`Customer ID`, key="test"))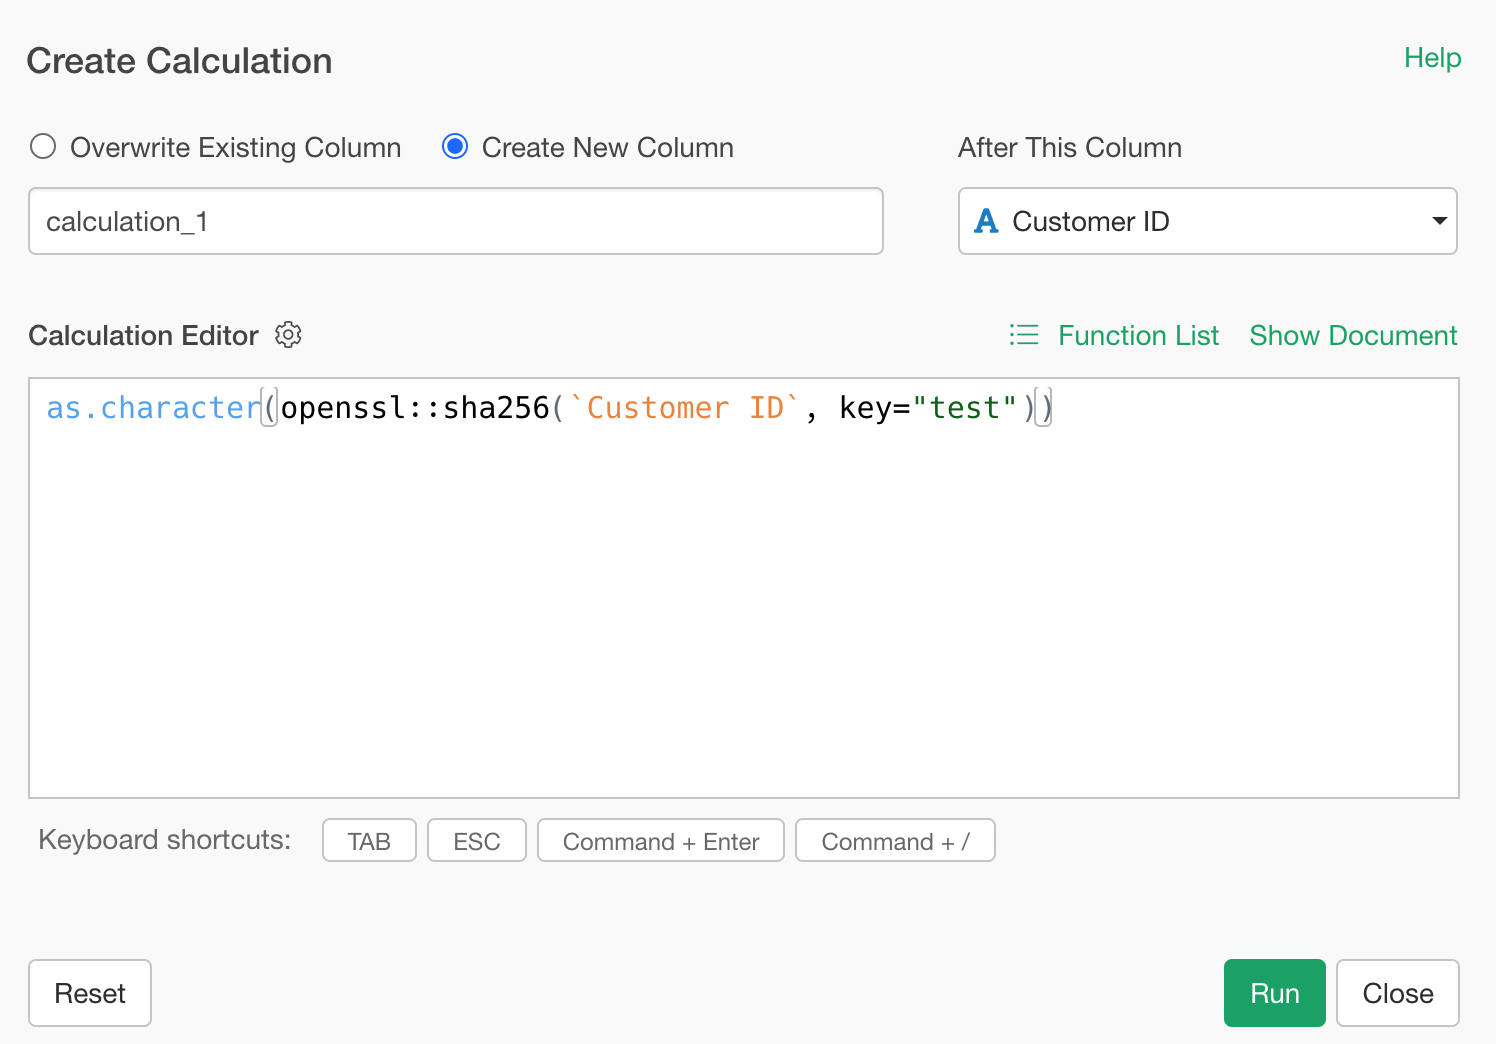
Check “Overwrite existing column” and click the “Run” button.
This will hash the customer names using your specified key.